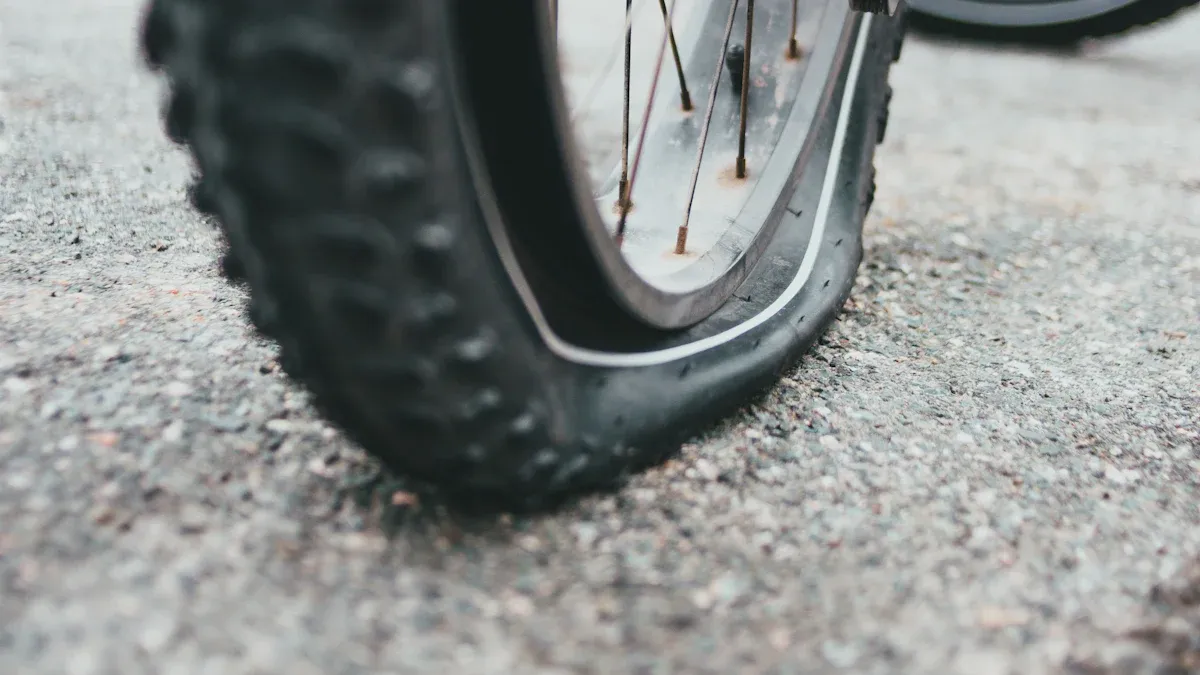
A flat tire is the most common mechanical issue for any bicycle rider. You need a reliable puncture repair kit for a fast repair. This small kit is your most important companion for any bicycle journey.
Pro Tip: Your roadside repair kit is the essential tool that gets you back on the road. A successful roadside repair depends on having the right equipment.
The market has many puncture repair kits. Finding the best bicycle tire tube repair kit or bicycle inner tube repair kit ensures you have a dependable tool. A great kit makes your bicycle repair process easy.
Top 5 Bicycle Tire Tube Repair Kits for 2024
You need the right tool for the job. A flat tire can happen anywhere. The best puncture repair kits give you confidence on any ride. This guide reviews the top options to help you choose the perfect puncture repair kit for your bicycle.
1. SUNSOUL Pro Series: Best Overall Bicycle Inner Tube Repair Kit
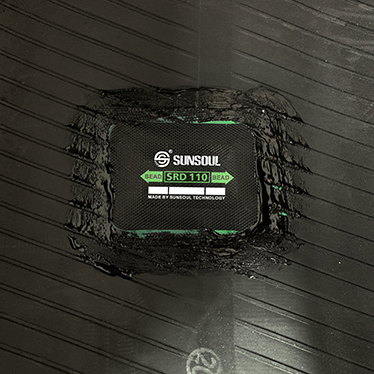
The SUNSOUL Pro Series earns its spot as the best overall puncture repair kit. It provides amazing performance and reliability on any trail or road. User reviews praise its outstanding reliability. The kit gives you a perfect balance of performance, durability, and value. You get professional-grade quality for a successful repair every time. SUNSOUL is a trusted name in over 60 countries, known for dependable patches with strong adhesion.
This bicycle inner tube repair kit is a comprehensive solution. Its design focuses on efficiency and durability. You get everything needed for a fast and effective repair.
- Strong Patches: The kit includes plenty of thick, sticky plugs that seal punctures fast. The patches are made from natural rubber and vulcanizing gum.
- Easy Application: The round patch shape prevents peeling. This design makes the repair process simple and ensures a secure, leak-proof seal.
- Durable Tools: You get tools like curved needles designed for tough use. They are easy to hold and built for longevity.
- Versatility: This kit works on different tire types. It offers various patch sizes to fix any puncture.
- Compact Design: The entire kit is lightweight and comes in a durable case, making it easy to carry in your saddle bag.
SUNSOUL Patch Technology:
- Strong Adhesion: The patches create a powerful, leak-proof bond with your tire.
- Durable Material: The patch thickness resists wear and tear from the road.
- Easy Application: The round shape prevents peeling and makes the repair process simple.
This complete bicycle inner tube repair kit ensures you have the right tool for a quick fix.
2. Park Tool VP-1: Best Traditional Vulcanizing Kit
The Park Tool VP-1 is the top choice for the best traditional glued tyre repair. This puncture repair kit uses a different method than glueless patches. It relies on a chemical process for a permanent fix. The vulcanizing fluid creates a strong molecular bond with your inner tube. This results in a much more durable repair compared to temporary patches. Many experienced cyclists trust this method for its long-lasting hold.
This compact kit contains the essentials for a proper vulcanizing repair.
- Two round patches (25 mm)
- Two smaller round patches (19 mm)
- Two oval patches (35 x 25 mm)
- A tube of vulcanizing fluid
- A square of sandpaper for scuffing
While it takes a few more minutes to apply, a repair with the Park Tool VP-1 is often as strong as the tube itself. It is one of the best puncture repair kits for a permanent solution.
3. Lezyne Lever Kit: Best for Portability
The Lezyne Lever Kit is the champion of convenience. This kit is incredibly portable. It weighs only about 50 grams. Its dimensions are a compact 100mm x 48.2mm x 17.7mm. You can easily slip this kit into a jersey pocket or a small saddle bag. It is the perfect companion for cyclists who value minimalism.
This kit is more than just patches. The case itself cleverly integrates two tire levers. These levers are not flimsy plastic. They are constructed from a rugged reinforced composite matrix material. This makes the tool stiff and strong. You can use them safely on all rim types, including delicate carbon fiber rims. The Lezyne Lever Kit is an excellent bicycle tire tube repair kit that combines essential tools into one smart package for your bicycle. It is a fantastic puncture repair kit for riders on the go.
4. Rema Tip Top Touring Kit: Most Trusted Puncture Repair Kit
You can find trust in a brand with a long history. Rema Tip Top has built its reputation for over 80 years. The company is known worldwide for high-quality products and reliable service. This long history makes their Touring Kit one of the best puncture repair kits available. Professionals and serious cyclists often choose this puncture repair kit for its proven performance. A successful repair depends on quality materials.
The Rema Tip Top name is synonymous with competence and innovation in the tire repair industry. This puncture repair kit provides everything you need for a permanent tube repair on your bicycle.
- Six round patches (Size F1)
- One oval patch (Size F2)
- One tube of SVS vulcanizing fluid
- A small sheet of sandpaper for preparation
Why It’s Trusted: This kit uses a true vulcanizing process. The fluid creates a chemical bond between the patch and the tube. This makes the repair incredibly strong and permanent. You can ride your bicycle with confidence after this fix.
This kit is a fantastic choice for your home workshop or for long tours where a dependable repair is critical. The quality of this kit ensures you are prepared for any puncture.
5. Topeak Rescue Box: Best Glueless Option
Sometimes you need a fast and simple fix on the road. The Topeak Rescue Box is the best glueless solution for a quick bicycle repair. Glueless puncture repair kits let you skip the messy glue and drying time. You can get back to your ride in minutes. This makes the Topeak Rescue Box an essential item for every cyclist’s saddle bag.
This compact kit is designed for pure convenience. The small, waterproof case keeps your patches clean and ready for use. Inside, you get six self-adhesive patches and a piece of sandpaper. The application process is incredibly simple. You just scuff the area, peel the backing, and press the patch firmly over the hole.
This type of repair is perfect for getting you home safely. While many cyclists prefer a vulcanizing repair for a permanent fix, the speed of a glueless patch is unmatched in an emergency. This bicycle tire tube repair kit is one of the best puncture repair kits for its ease of use and portability. The small size means you will barely notice the kit until you need it.
Buyer’s Guide: Finding the Best Puncture Repair Kits
Choosing the right puncture repair kit for your bicycle can feel overwhelming. You need to consider patches, tools, and portability. This guide will help you understand the key features of the best puncture repair kits. A good bicycle inner tube repair kit gives you the confidence to handle any flat tire.
Glue vs. Glueless Patches
You will find two main types of patches in puncture repair kits: glueless and glued. Each type has specific benefits. Your choice depends on whether you need a quick fix or a permanent repair. Glueless patches are great for a fast, temporary repair to get you home. Glued patches create a stronger, more permanent bond.
| Patch Type | Advantages | Disadvantages |
|---|---|---|
| Glueless | Fast, clean, good for quick fixes | Less permanent, generally for getting home |
| Glued | Permanent, reliable repairs, stronger chemical bond | Requires glue, can be messy, takes more time |
Glueless patches are more likely to fail on rough terrain or at high speeds. These conditions put extra stress on the repair. However, some cyclists report success using them for months. For a lasting solution, a glued patch from a quality inner tube puncture repair kit is the superior choice.
Patch Quality and Adhesion
The quality of your patches determines the success of your repair. The best bike puncture repair kits include high-quality materials. A strong repair relies on two key components: a flexible rubber patch and a vulcanizing solution. The solution creates a chemical bond that essentially welds the patch to the tube. This makes the repair as strong as the tube itself.
Pro Tip: Patience is key when using a glued patch. The vulcanizing fluid needs time to dry properly. High humidity can increase drying time. Rushing this step can cause the repair to fail.
Top brands like SUNSOUL use materials that ensure excellent adhesion. Their patches are known for their thickness and strong bond, creating a durable, leak-proof seal. A good bicycle inner tube repair kit will provide patches that stretch with the tube and resist peeling. This strong adhesion is crucial for a reliable, long-term fix.
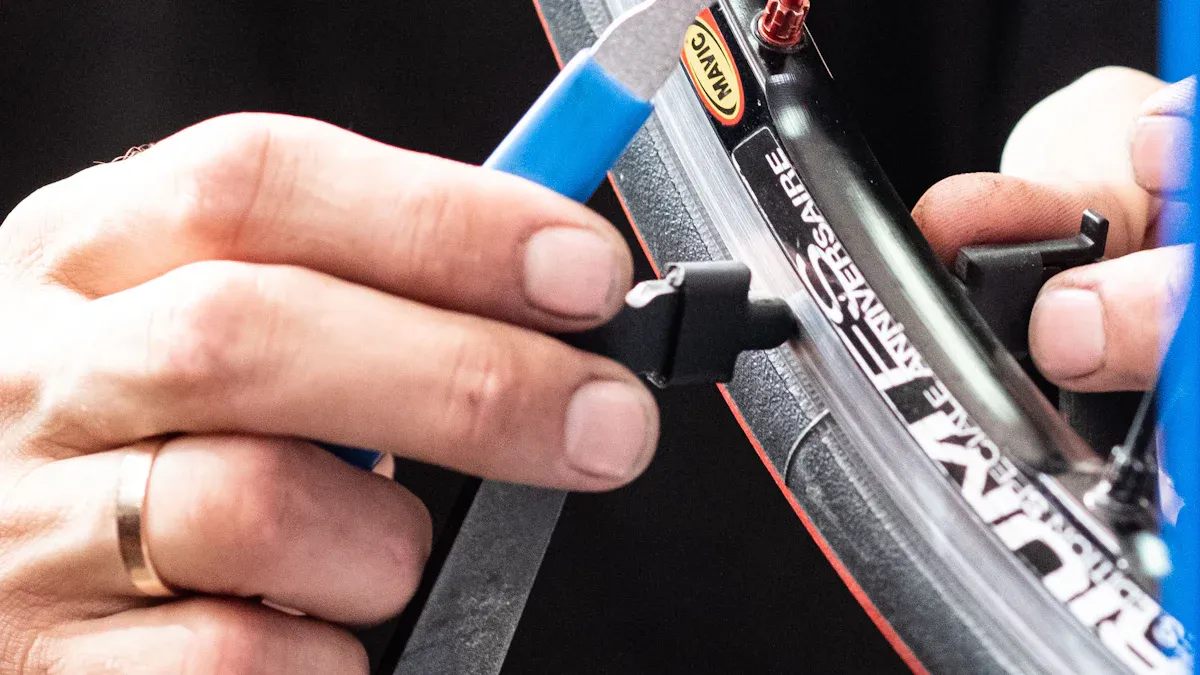
Essential Tools: Levers and Scuffers
The best puncture repair kits include more than just patches. They also contain essential tools like tire levers and a scuffer. A good tool makes the repair process much smoother. Tire levers help you remove the tire from the rim. They come in different materials, each with its own pros and cons.
| Lever Type | Material | Best For | Risk of Damage |
|---|---|---|---|
| Plastic | Composite Plastic | Everyday use, versatile | Low |
| Hybrid | Steel core, plastic cover | Removing very tight tires | Medium |
| Metal | Forged Steel | Toughest tires (e.g., downhill) | High |
A scuffer is another vital tool in your bicycle tire tube repair kit. You use this small, rough tool to prepare the tube surface for the patch. Proper preparation is critical for a strong bond.
- Use the scuffer from your bike inner tube patch kit.
- Gently roughen an area slightly larger than your patch.
- You want to create a textured, light gray surface.
- Do not try to wear through the rubber. The goal is to create a clean, rough surface for the glue.
Using these tools correctly ensures your puncture repair kit works effectively every time you fix your bicycle.
Kit Size and Portability
You need to consider the size of your puncture repair kit. Your kit must be easy to carry on every ride. A large, bulky kit is not practical for most cyclists. You want a compact bicycle repair kit that fits easily into a saddle bag or jersey pocket. The best compact option balances size with function. It contains all the essential tools for a successful repair without adding extra weight.
Rider’s Tip: Think about your typical ride. For short trips, a minimalist kit is great. For long tours, you might want a more comprehensive kit with extra supplies.
Many puncture repair kits are designed to be extremely portable. A smaller kit encourages you to bring it on every bicycle trip. This preparation ensures you can handle an unexpected flat tire. The goal is to find a compact bicycle repair kit that you will never leave at home. The best compact option gives you peace of mind on the road. A small, lightweight kit is a smart choice for any rider.
Case Durability
The case of your puncture repair kit is very important. It protects the contents from damage and the elements. A durable case ensures your patches and glue are ready when you need them for a repair. Hard plastic cases offer excellent protection against being crushed. Soft pouches are more flexible and can fit into tight spaces. Your choice depends on your storage preference for your bicycle.
Water can ruin the adhesive on your patches and spoil your glue. A waterproof or water-resistant case is a huge advantage. It keeps everything inside your kit dry and effective. This is crucial for a reliable repair. Some brands specialize in high-quality waterproof storage that you can use for your kit.
- Nite Ize, Inc. RunOff® Series: Offers various waterproof pouches and cases that are perfect for protecting a compact bicycle repair kit.
- Plano Guide Series Waterproof Cases: These are hard cases that provide crush-proof and waterproof protection for your repair tools.
A strong case protects your investment and makes sure your kit is ready for any emergency repair.
How to Use Your Bike Puncture Repair Kits
Knowing how to use your puncture repair kit is a vital skill. A successful repair gets you back on your bicycle quickly. These steps will guide you through the process. You can fix a flat tire with confidence using the right tool and technique.
Step 1: Remove the Wheel and Tube
First, you must remove the wheel from your bicycle. Open the brake caliper to create space for the tire. Next, release the quick-release lever or loosen the axle nuts. You can now lift the wheel out of the frame. Let all the air out of the tube. Use a tire lever tool from your kit to pry one side of the tire bead off the rim. Work your way around the rim with the tool until one side of the tire is completely free. You can then pull the inner tube out.
Step 2: Find the Puncture
Finding the tiny hole is the next challenge. Add a small amount of air to the tube. Hold the tube close to your ear and listen for a hissing sound. You can also feel for escaping air with your hand. If you still cannot find it, use water.
Pro Tip: The Water Test 💧
Submerge sections of the inflated tube in a bucket of water. Look for a stream of bubbles. This is the surest way to find a leak. Mark the spot with a pen or chalk once you find it.
This step is crucial for a successful repair. All bike puncture repair kits depend on you finding the hole first.
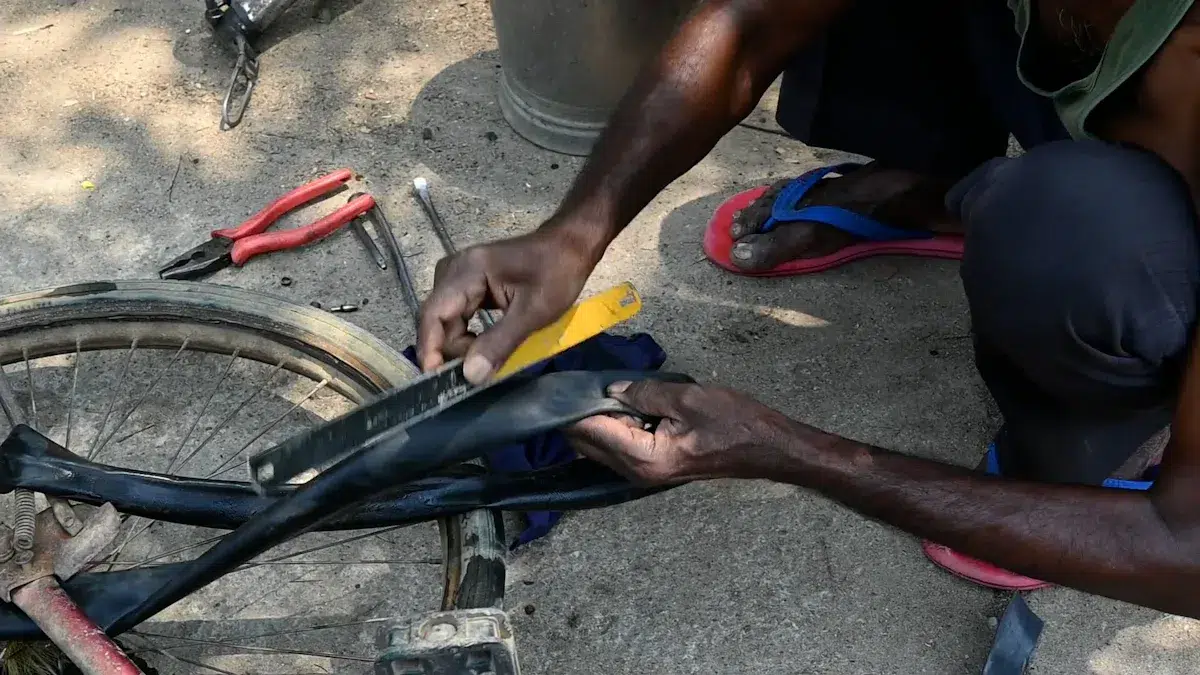
Step 3: Prep the Tube Surface
Proper preparation ensures your repair will last. Your bicycle inner tube repair kit includes a scuffer tool. Use this tool to roughen the area around the puncture. The scuffed area should be slightly larger than the patches in your kit. You want to create a clean, textured surface. This helps the glue or adhesive bond strongly to the rubber. A good preparation makes a huge difference in the quality of the repair. Many puncture repair kits fail because people skip this important step.
Step 4: Apply the Patch
Now you will apply the patch to complete the repair. The method changes depending on your puncture repair kit.
-
For a Glued Patch:
- Squeeze a thin, even layer of vulcanizing fluid from your kit onto the scuffed area.
- Spread it slightly larger than the patch size.
- Wait about five minutes. The glue must feel tacky, not wet. This step is vital for a strong repair.
- Peel the backing from one of the patches. Press it firmly over the hole.
- Push down from the center to the edges. This removes air bubbles and creates a perfect seal.
-
For a Glueless Patch:
- This process is much faster.
- Peel the self-adhesive patch from its backing.
- Center it over the puncture and press down hard for about 30 seconds. Your thumb is the best tool for this job.
A good patch application is the key to a durable fix for your bicycle.
Step 5: Reinstall and Inflate
You are ready to put everything back together. A careful installation prevents future problems.
Rider’s Tip: inflating the tube with a tiny bit of air before installing it. This gives the tube some shape. It helps you avoid pinching the tube between the tire and the rim.
First, place the partially inflated tube back inside the tire. Start by inserting the valve stem through its hole in the rim. Next, use your hands to work the tire bead back onto the rim. You may need a tire lever tool for the last tight section. Be careful not to pinch the tube with the tool.
Once the tire is on, check both sides of the bicycle wheel. Make sure the tire bead is seated evenly all the way around. Now you can inflate the tire to its recommended pressure. Your successful repair is complete. Quality bike puncture repair kits and puncture repair kits make this entire process simple. This final step gets you back on the road with a reliable kit.
Why a Quality Patch Matters
Not all patches are created equal. The quality of the patches in your puncture repair kit directly impacts the success and durability of your repair. Understanding the difference between a quick fix and a permanent solution helps you choose the right tool for your bicycle.
The Science of Vulcanization
A glued repair relies on a chemical process called vulcanization. This process hardens rubber by treating it with sulfur. The rubber cement in your kit acts as a vulcanizing agent. It softens the tube and the patch, creating a powerful chemical bond that fuses them together. This makes the rubber stronger and more durable. The process creates a repair that is best for longevity.
Several components work together to create this permanent bond.
| Component | Function |
|---|---|
| Sulfur | Forms chemical links between the patch and tube, creating one solid piece of rubber. |
| Accelerators | Speed up the chemical reaction so it works faster and at lower temperatures. |
| Heat | Provides the energy needed for the reaction to happen. |
| Pressure | Ensures the patch and tube make full contact, removing air bubbles for a perfect seal. |
Long-Term vs. Temporary Fixes
You have two main choices for a bicycle repair: a temporary fix or a long-term solution. Glueless patches offer a fast, convenient repair to get you home. However, a vulcanizing repair creates a permanent bond that is often as strong as the tube itself, making it the choice that is best for longevity. While some glueless kits are designed for reliability, a chemical bond is superior.
The Muc-Off Glueless Puncture Repair Kit includes a durable sanding strip to prep your inner tube surface, ensuring maximum adhesion and a reliable seal for temporary or permanent repairs in any riding condition.
For a fix you can truly trust on any ride, a vulcanizing repair is the option that is best for longevity.
Benefits of Strong Adhesion
Strong adhesion is the goal of any tube repair. A quality patch from a reliable kit creates a powerful, leak-proof seal. Brands like SUNSOUL use high-grade vulcanizing gum to ensure their patches bond securely and do not peel away under pressure. This strong connection prevents the repair from failing on rough roads or during long rides. A high-quality patch is the most important tool in your kit. It gives you the confidence that your fix will hold, letting you ride without worry.
Do not let a flat tire stop your bicycle ride. A dependable puncture repair kit is your best tool for any roadside repair. You should choose a comprehensive bicycle inner tube repair kit like the SUNSOUL Pro Series. This kit gives you reliable, high-adhesion patches and every necessary tool for a successful repair. Trusted in over 60 countries, its unique round patches create a strong, leak-proof repair. This bicycle inner tube repair kit ensures a durable fix.
Ride your bicycle with confidence. You have the right bicycle tire tube repair kit and tool to handle any repair. This kit makes your repair simple.
FAQ
Can I reuse tire levers?
Yes, you can reuse high-quality tire levers. Always inspect plastic levers for any signs of bending or stress before you use them. A broken lever is useless in an emergency. The best puncture repair kits include durable levers designed for multiple repairs.
How long does a patch last?
A glued patch from a vulcanizing kit creates a permanent repair. This chemical bond can last for the entire life of the inner tube. Glueless patches provide a reliable temporary fix to get you home safely.
Why did my patch fail?
A patch usually fails because of poor preparation. You must scuff the tube surface to create a rough texture. With a glued patch, you must also wait for the vulcanizing fluid to become tacky before applying the patch.
Remember: Patience is a key tool. Rushing the glue-drying step is the most common reason for a failed repair.
Do I need a new tube after patching?
No, you do not need a new tube after a successful repair. A properly applied vulcanizing patch makes the tube as good as new. The repair is strong and permanent, allowing you to continue using the tube with confidence.