Tyre Patch: The Complete Guide to Puncture Repair
When it comes to tire repairs, a tyre patch is one of the most reliable solutions for fixing punctures and extending the life of your tires. Whether you’re dealing with a nail, screw, or other sharp object embedded in your tread, understanding how a tyre patch works and when to use it can save you time and money.
SUNSOUOL guide will walk you through everything you need to know about tyre patches, including how they compare to alternative repair methods, whether you should attempt a DIY repair or seek professional help, and answers to all your frequently asked questions.
Tyre Patch vs. Tire Plug: Which Is the Right Repair for Your Puncture?
When you discover a puncture in your tire, you’ll generally have two main repair options: a tyre patch or rubber tire plugs. Each method has its advantages and ideal use cases.
Tire Patches vs. Tire Plugs: pros & cons
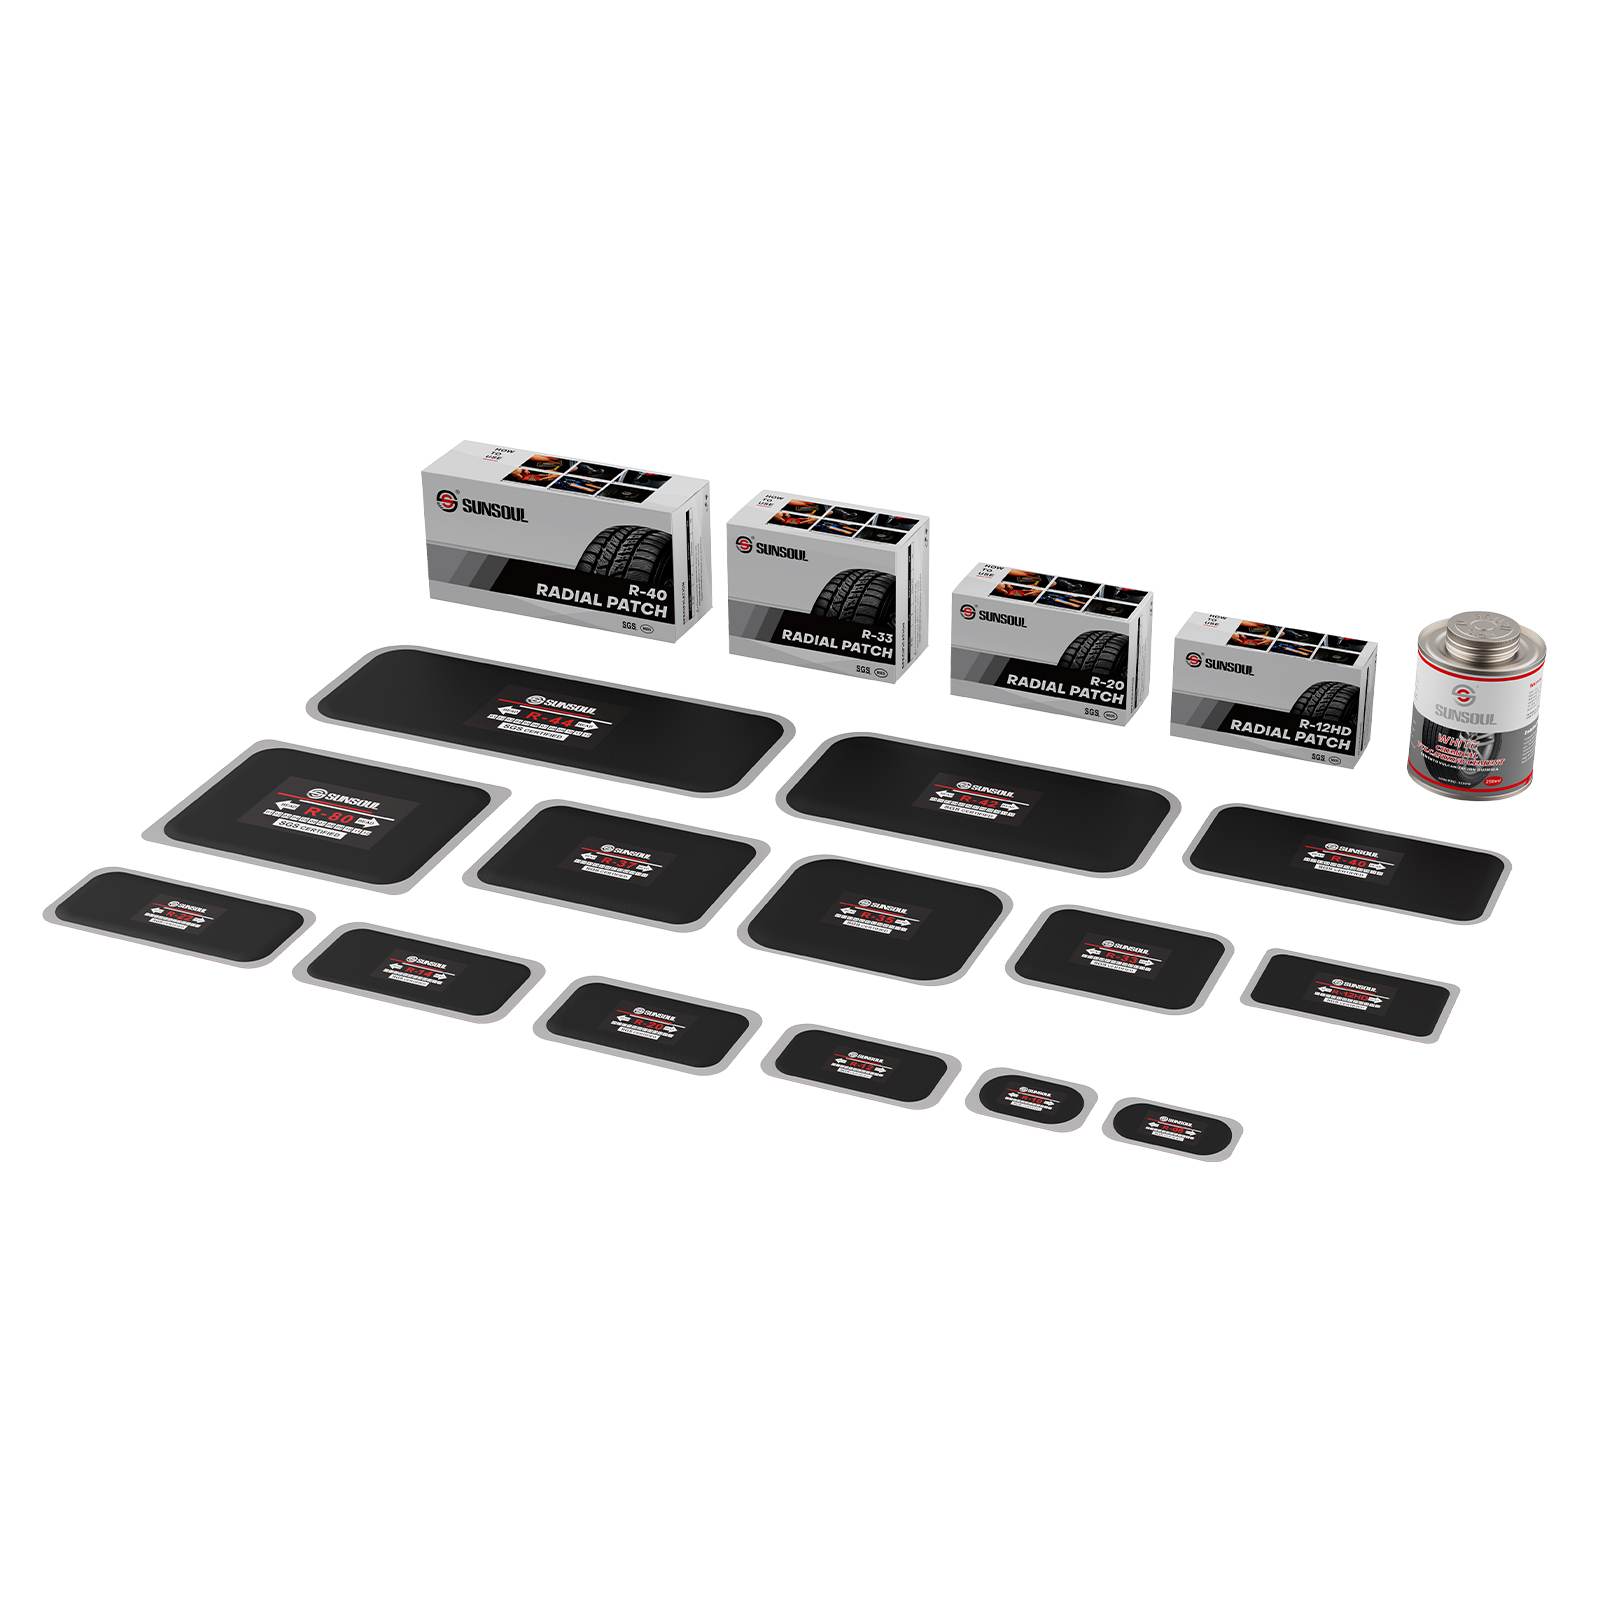
Tyre Patch Pros
Considered the industry standard for professional repair
More suitable for larger or irregularly shaped punctures
Provides a permanent repair when installed correctly
Less likely to fail over time compared to plugs
Can last the remaining life of the tire
Tyre Patch Cons
Proper installation needs removing the tire from the wheel
Generally needs professional equipment and expertise
Takes more time to complete than plug repairs
Typically more expensive than plug repairs
Tire Plug Pros
Many drivers can install plugs themselves with basic tools
Doesn't require removing the tire from the wheel
Can be installed quickly, often in just minutes
Good for emergency roadside repairs
More affordable than patch repairs
Tire Plug Cons
Considered a temporary repair by most manufacturers
Not suitable for sidewall damage or large punctures
Can fail under high-speed or heavy-load conditions
More prone to leaks and failures over time
Tire Patches vs. Tire Plugs: Application Process
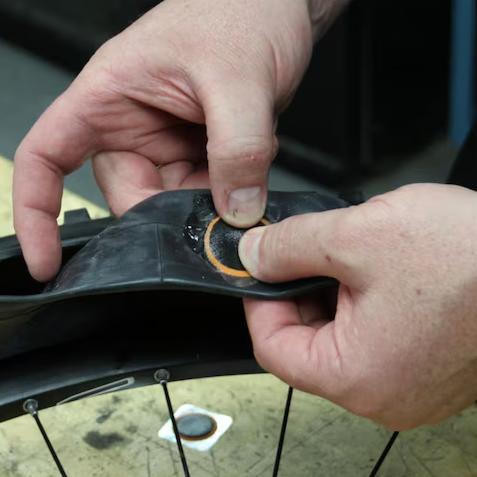
Tyre Patch Application
1. Mark the tire on the outside and inside
2. Buffing and clean the injury area
3. Apply vulcanizing cement
4. Remove off the poly cover
5.Stitch thorough from the center outwards
Continue several times in different directions
6. Apply innerliner repair sealant to the exposed buffed areas
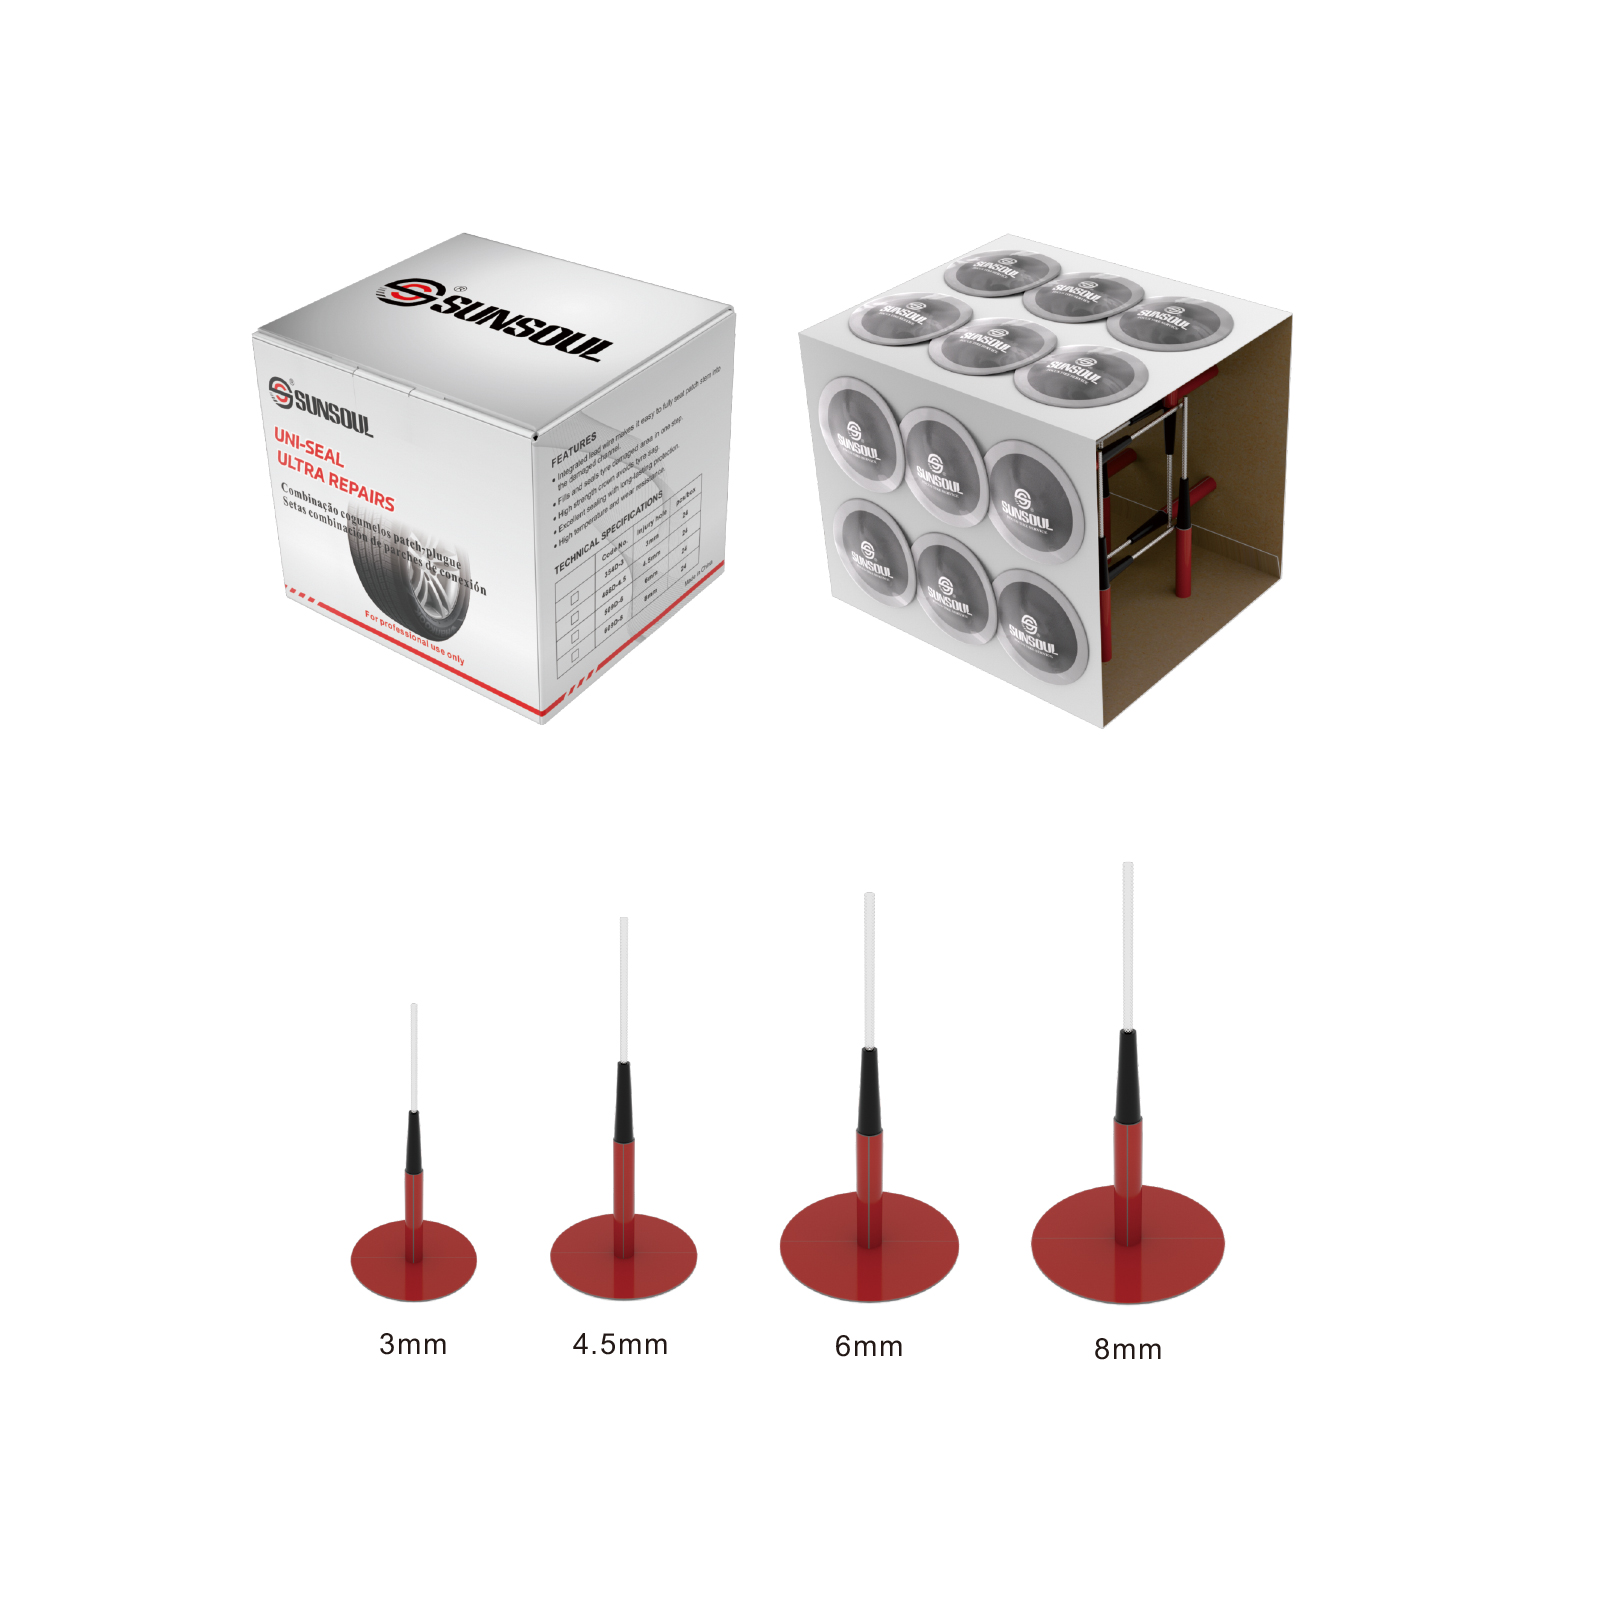
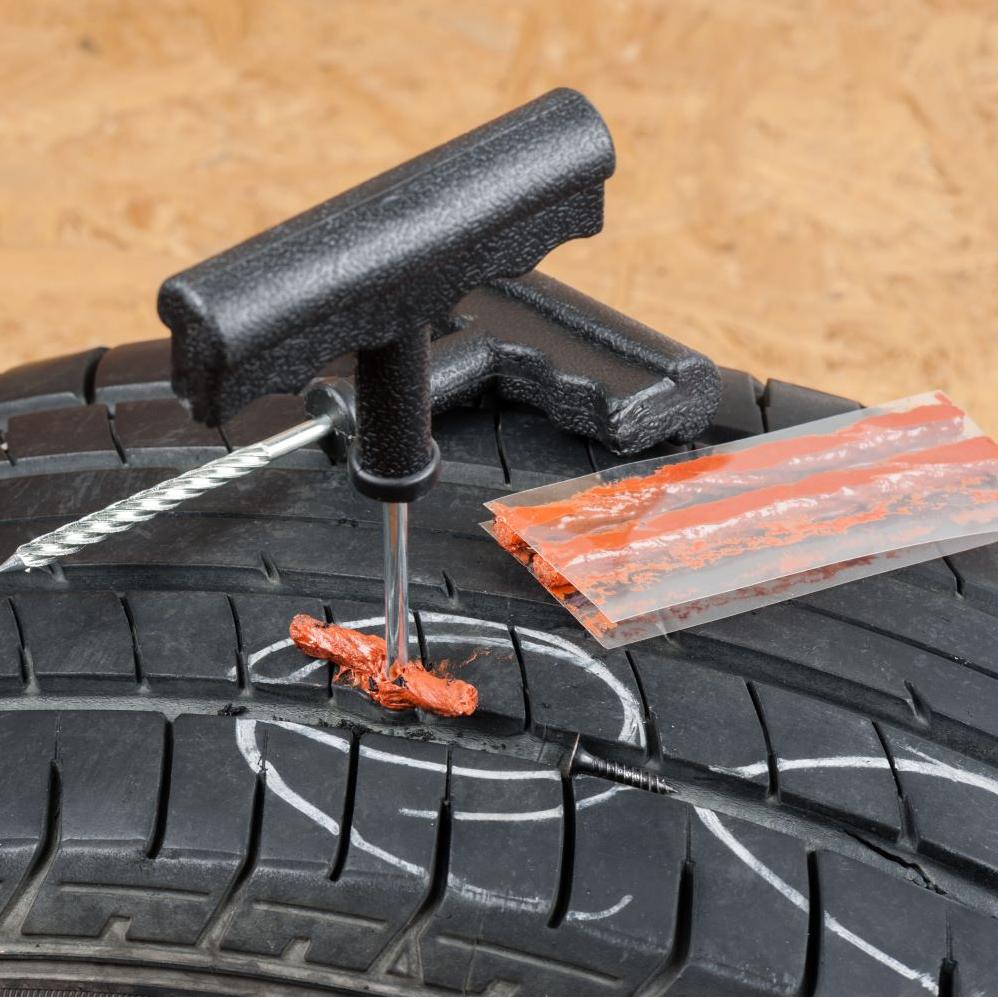
Tire Plug Application
1. Identify the puncture by looking or submerging the tire to spot bubbles.
2. The puncturing object gets removed (if still present)
3. The hole gets reamed to clean and smooth the edges
4. A sticky rubber plug gets inserted through the hole
5. The plug gets pulled tight to seal the puncture
6. Excess plug material gets trimmed flush with the tread
7. The tire gets reinflated and checked for leaks


Tire Patches vs. Tire Plugs: Durability and Longevity
When it comes to how long the repair lasts, tyre patches have a clear advantage. A properly installed patch can last as long as the remaining tread on your tire, often several years of normal driving. The vulcanization process creates a molecular bond between the patch and tire that’s nearly as strong as the original rubber.
Tire plugs, while convenient, simply don’t offer the same longevity. Even well-installed plugs may only last months before developing leaks. The external placement means they’re constantly exposed to road hazards, weather, and flexing forces that can work them loose over time.
Tire Patches vs. Tire Plugs: Cost Comparison
Tyre Patches:
– Professional installation typically costs $20-$50 per tire
– Price varies by location, shop, and tire size
– Higher initial cost but better long-term value
Tire Repair With Plug:
– Professional installation costs $10-$25
– DIY plug kits cost $5-$15
– Cheaper initially but may need redoing later
Tire Patches vs. Tire Plugs: Suitability for Different Punctures

when to use tyre patch
– Punctures larger than 1/8 inch diameter
– Damage near (but not in) the sidewall
– High-performance or heavy-duty tires
– When you want a permanent, manufacturer-approved repair
when to use tire plug
– Small, straightforward punctures (nails, screws)
– Emergency repairs when professional help isn’t available
– Temporary fixes until a proper patch can be installed
– Low-speed applications like lawn equipment tires
Tyre Patch: DIY vs. Professional Repairs
If you’ve determined that a tyre patch is the right solution, your next decision is whether to attempt it yourself or have a professional handle the repair.
DIY Tyre Patching
Advantages of DIY Patching
DIY tyre patching is a cost-effective solution for minor tyre damage. It allows vehicle owners to handle small repairs without the need for professional help. DIY tyre patch kits are widely available and inexpensive, making them a practical option for people with basic mechanical skills. Performing a repair yourself can also save time, especially in emergency situations where reaching a repair shop is not immediately possible.
Limitations of DIY Patching
The average car owner may lack the tools, experience, or technical knowledge to perform a proper patch. Incorrect application can lead to air leaks, reduced tyre performance, or even a safety hazard on the road. DIY methods are usually not suitable for large punctures, sidewall damage, or tyres that have suffered internal structural harm. Additionally, without professional inspection, underlying damage may go unnoticed, potentially leading to a blowout or further wear.
Professional Tyre Patching

Professional Repair Standards
The average car owner may lack the tools, experience, or technical knowledge to perform a proper patch. Incorrect application can lead to air leaks, reduced tyre performance, or even a safety hazard on the road. DIY methods are usually not suitable for large punctures, sidewall damage, or tyres that have suffered internal structural harm. Additionally, without professional inspection, underlying damage may go unnoticed, potentially leading to a blowout or further wear.
Benefits of Professional Repair
The main advantage of professional repair is reliability. Professionals can identify whether a tyre is safe to repair or if it needs to be replaced. They can also detect other issues like uneven tread wear or rim damage. In many cases, professional services come with warranties, giving drivers added peace of mind. While the upfront cost is higher than DIY, the long-term benefits—especially in terms of safety—often outweigh the expense.
DIY vs. Professional Repairs Cost Comparison
DIY tyre patch kits typically cost between $5 and $15 and can be reused several times. These kits are economical for minor tread punctures and simple repairs.
In contrast, professional patching services generally cost between $20 and $40, depending on the location, service provider, and tyre type.
While DIY is cheaper initially, a failed repair can lead to additional damage or even tyre replacement, which may cost significantly more.
Making the Right Choice for tyre patching
when to consider DIY tyre patching
DIY tyre patching is appropriate for small punctures (less than 1/4 inch) located on the tread area. It is a good choice when the damage is clearly visible, the tyre is otherwise in good condition, and immediate professional help is unavailable. It is best used as a short-term or emergency solution until a professional inspection can be done.

when to always choose professional repair
Choose professional repair for sidewall punctures, holes over 1/4 inch, multiple punctures, internal damage, uneven wear, or previous repairs in the same area. It’s essential for high-speed driving, long distances, and commercial vehicles to ensure safety and durability. When in doubt, always trust a professional technician for reliable repairs.
Tyre Patch FAQs: Your Questions Answered
Can Run-Flat Tires Be Patched?
Most tire experts agree: Replacement is the only truly safe option for damaged run-flats. The reinforced design that makes them valuable when intact makes them largely unrepairable when compromised. Always prioritize safety over repair attempts with these critical safety components.
Key Reasons Why Run-Flat Tires Usually Can’t Be Repaired:
1. Structural Differences: Run-flat tires have reinforced sidewalls designed. This makes the internal structure more complex than standard tires.
2. Heat Damage Risk: Driving on a deflated run-flat (even for short distances) typically causes internal damage that isn’t always visible. The extreme heat generated can compromise the tire’s integrity.
3. Manufacturer Restrictions: Most major tire manufacturers (like Michelin, Bridgestone, Pirelli) explicitly void warranties if run-flats are repaired.
Recommended Action:
When your run-flat tire is punctured:
1. Immediately stop driving if possible
2. Have it inspected by a run-flat-certified technician
3. Expect replacement as the likely outcome
4. Consider carrying a tire repair kit as temporary emergency solution only
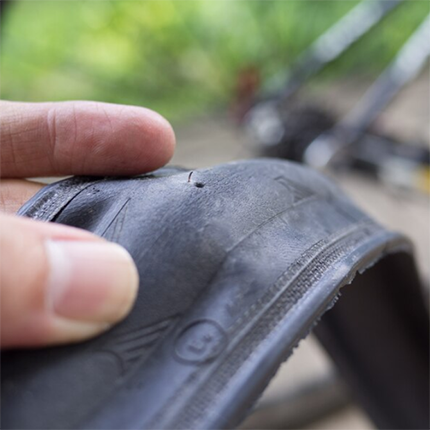
How do I know if my tire is patchable?
* Inspect the Location: Check if the puncture is within the tread and not on the sidewall or shoulder.
* Measure the Puncture Size: If it’s smaller than 1/4 inch, it’s usually patchable.
* Check for Damage: If you notice internal damage (e.g., the tire has a bulge, or you hear air escaping from the sidewalls), the tire may not be patchable.
* Look for Uneven Wear: Tires that are worn unevenly or show signs of excessive wear may not be suitable for patching.
* Previous Repairs: If the same area of the tire has been patched before, it may not be patchable again.
Can I drive long distance with a patched tire?
* Short-Term Solution: A patched tire can be driven long distances, but it is often considered a temporary fix. Ensure that the repair is done properly (with both a plug and a patch) by a professional.
* Consider the Vehicle Type: If you’re driving a passenger car, a properly patched tire should be okay for long trips, but it’s essential to monitor the tire’s condition.
* Check Tire Pressure and Condition: After a repair, regularly check the tire’s pressure and ensure it’s in good condition. If there are any signs of failure, replace the tire immediately.
* For Commercial or High-Speed Use: If the vehicle is used for high-speed driving, commercial use, or long trips, it’s better to replace the tire to ensure safety and durability.