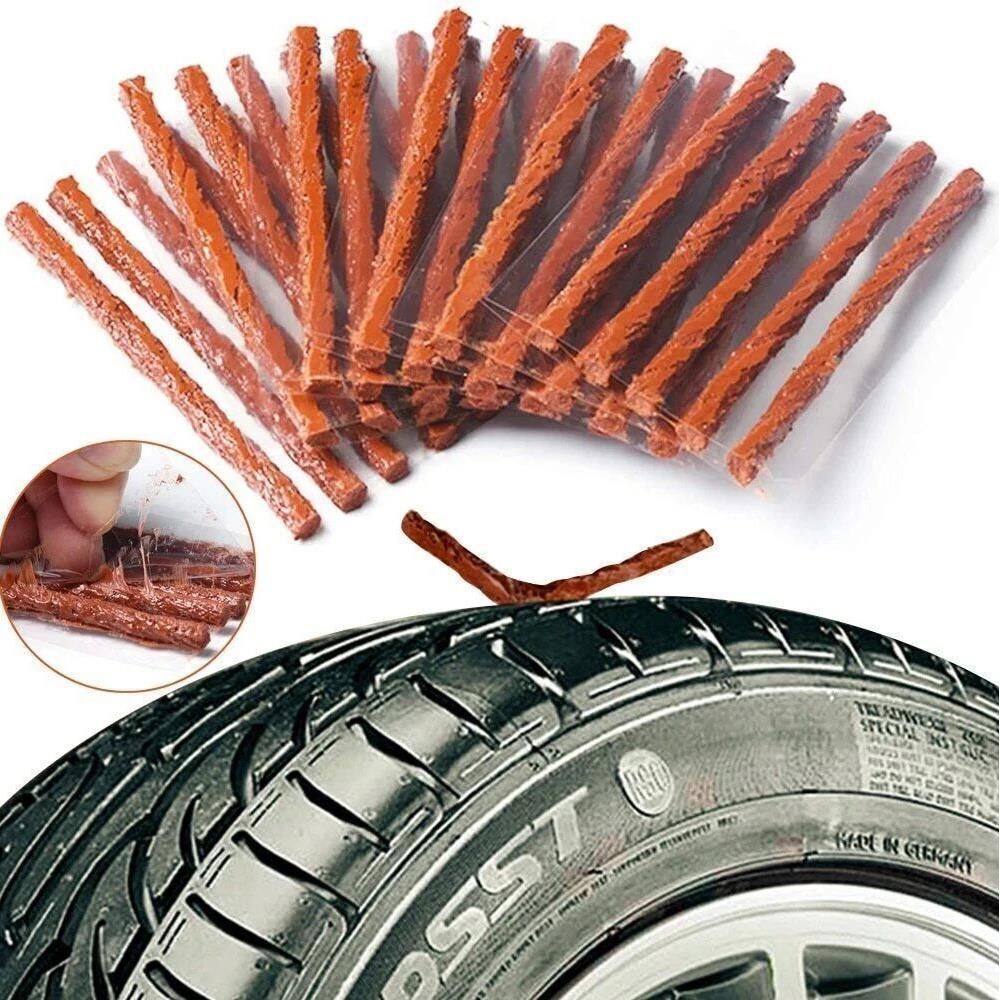
People can use commercially available tire patching kits (such as SUNSOUL tire patching kits) to repair inner tubes. Self-adhesive patching kits or some household items, such as rubber glue and a piece of old inner tube, can also be used. Butyl rubber is the most commonly used material for inner tubes. It holds air well and is not easily damaged by heat. Natural rubber is better suited for colder climates. Tubeless tire patches are becoming increasingly popular. They are easy to use and perform well on the road. Anyone can repair an inner tube with the right tools and some patience.
Key Takeaways
- Use regular patch kits like SUNSOUL for strong repairs on inner tubes. These repairs last a long time.
- Self-adhesive patches are fast to use. They may not work well if you use the tube a lot.
- You can use things from home for a quick fix. These are not good for long-term repairs.
- Always clean and prepare the area before you put on a patch. This helps the patch stick well.
- Keep a patch kit with you. It saves money and time on repairs. It also helps make less trash.
Ways to Patch an Inner Tube
Fixing an inner tube is easy if you use the right way. People can pick from patch kits, self-adhesive patches, or things found at home. Each way has its own good points and best times to use.
Standard Patch Kits
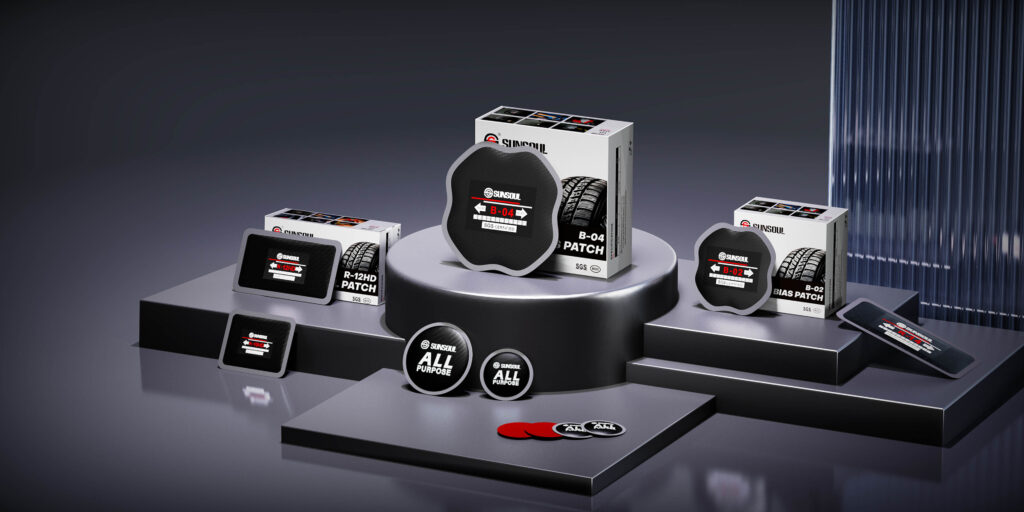
Tire repair kits are the best option for repairing inner tubes. These kits contain glue, sandpaper, and a patch. SUNSOUL tire patches are a trusted brand for many. SUNSOUL offers both chemically cured patches and dual-curing patches. These patches are suitable for bicycles, motorcycles, cars, and agricultural vehicles. The kit provides a strong bond and is durable.
Tip: For situations requiring long-lasting repairs, such as on rough roads or high-pressure tires, use a standard tire repair kit.
The table below shows how well each patch method works:
| Patch Type | Effectiveness | Notes |
|---|---|---|
| Standard Patch Kits | Strong bond with glue | Good for repairs that need to last |
| Self-Adhesive Patches | Quick fixes without glue | Good for emergencies; may not last long |
| Household Alternatives | N/A | Not as good as real patch kits |
SUNSOUL Tire Patch has some benefits over other brands:
| Feature | SUNSOUL Tire Patch | Other Leading Brands |
|---|---|---|
| Patch Adhesion | Superior | Varies |
| Durability | High | Moderate to High |
| Ease of Use | Full Kit | Basic Kits |
| Long-term Cost Savings | Yes | No |
| Permanent Fix | Yes | Often Temporary |
A patch kit like SUNSOUL is great for people who want a strong, lasting fix. It works for all inner tubes, like those in bikes, motorcycles, and cars. Some tubes, like Tubolito, need glue-on patches. Butyl tubes use vulcanized patches for better strength.
Self-Adhesive Patches
Self-adhesive tire patches are quick and easy, requiring no glue. Riders simply peel off the adhesive backing and stick it to the puncture. This method is popular due to its rapid road repair capability.
Self-adhesive tire patches are generally considered convenient to use. No glue is needed, and there’s no need to wait for it to dry. The process is simple and clean. However, these patches may not be as durable as tire repair kits. They are best suited for short-term or emergency repairs.
Note: Self-adhesive patches are good for quick repairs but may not last under heavy use or high pressure.
Household Alternatives
Some people try to patch up inner tubes using household items. They might cut a small piece from an old inner tube and glue it on with rubber glue. Others might try using tape or super glue. These methods might be useful in an emergency, but they are far less effective than a professional repair kit.
Home repair methods usually don’t create a solid seal. They might get you home temporarily, but they are not a long-term solution. For the best repair results, use a professional repair kit as soon as possible.
Warning: Only use household fixes in emergencies. Always use a real patch kit for a safe and lasting repair.
When to Use Each Method
- Glue-on patches from a patch kit are best for repairs that need to last.
- Standard patch kits are good for rough roads or high-pressure tires.
- Self-adhesive patches are best for quick fixes but do not last as long.
- Household alternatives should only be used if nothing else is available.
Each way has a time to use it. Riders should pick the one that fits their needs and always keep a patch kit ready for the best results.
Inner Tube Patch Methods: Pros and Cons
Durability
Durability is paramount when choosing a tire repair method. Standard tire repair kits, such as SUNSOUL tire patches, have a long lifespan. These patches use strong vulcanizing adhesive to form a tight seal, effectively preventing leaks after multiple rides. Self-adhesive patches are quick and easy to use, but may fall off after several rides. Home repair methods, such as tape or rubber glue, are not as durable and long-lasting.
Many cyclists say SUNSOUL patches stay stuck even after weeks. They trust these patches for daily rides and long trips.
Ease of Use
Easy-to-use methods help cyclists quickly repair flat tires. Self-adhesive tire patches are the fastest; simply peel off the adhesive backing and stick them to the inner tube. Traditional tire repair kits involve more steps, but SUNSOUL simplifies everything. Its separate adhesive backing design makes it easy for users to apply the patch. Home tire repair tools can be cumbersome and require additional tools.
Below is a comparison of different tire repair methods by users:
| Feature | SUNSOUL Tire Patch | Other Patching Methods |
|---|---|---|
| Ease of Use | Simple to use, no glue drying | May need extra tools |
| Adhesion | Strong stick with vulcanizing gum | Varies, may not stick well |
| Durability | Lasts long, stops leaks | Varies, some peel off |
| Availability | Trusted worldwide, easy to find | May be hard to find |
| After-sales Support | Great help and support | Support depends on brand |
| Value for Money | Good price for quality | Price varies, some cost more |
Cost
Cost matters for every repair. Patching an inner tube costs less than buying a new one. Most riders spend $15 to $45 on patch kits over time. This saves money, especially for people who ride a lot. Self-adhesive patches and household fixes cost less at first, but they may not last as long. Riders who patch tubes instead of replacing them save more money.
| Method | Cost Range |
|---|---|
| Patching | $15 – $45 |
| Replacing Tube | N/A |
| Using Sealants | N/A |
Tip: Keeping a good patch kit ready helps riders save money and avoid delays.
How to Patch an Inner Tube
Patching an inner tube helps riders save money and time. Anyone can patch an inner tube with the right tools and steps. Here is a simple guide for a strong repair.
Gather Materials
Before starting, riders should collect all the needed items. Experts recommend these materials for a successful repair:
- Standard patch kit (like SUNSOUL Tire Patch)
- Patches (glued or self-adhesive)
- Vulcanizing fluid or rubber cement
- Tire levers
- Sandpaper or metal scuffer
- Clean rag and rubbing alcohol
- Disposable gloves
- Pump
A spare inner tube can help if the damage is too big to patch.
Prepare the Area
Preparation is key to ensuring a good seal. Riders should follow these steps:
- Slightly inflate the inner tube to locate the leak. Listen carefully for hissing sounds or observe for bubbles in the water.
- Mark the leak with a pen or chalk.
- Roughen the area around the leak with sandpaper. This helps the patch adhere better.
- Clean the leak with a cloth dampened with alcohol and allow it to dry.
- Apply a thin layer of rubber adhesive and wait for it to darken.
These steps ensure the patch adheres firmly.
Apply the Patch
After the area is ready, riders can apply patch. Press the patch firmly over the hole. Hold it in place for at least one minute. The SUNSOUL Tire Patch has a split backing, which makes this step easier. Riders should smooth out any air bubbles for a strong seal.
Self-adhesive patches work faster. Riders just peel and stick them on. These patches are good for emergencies but may not last as long as glued patches.
Test the Repair
After patching, riders should check the repair. Inflate the tube and listen for leaks. If no air escapes, the patch worked. If air leaks, repeat the steps or use a new tube.
Tip: Always carry a patch kit when riding. Practice makes patching an inner tube easier each time.
Inner Tube Patch Troubleshooting
Patch Not Sticking
Many cyclists have noticed that tire patches sometimes don’t adhere well. There are several reasons for this:
- The release agent on the inner tube surface can hinder the patch’s adhesion.
- Protrusions at the mold seams or near the valve stem can make sanding difficult.
- Using the inner tube immediately after patching can stretch the patch and the inner tube, leading to leaks.
To improve the patch’s adhesion, follow these steps:
- Sand the inner tube surface to remove the release agent.
- Use a plastic scraper to remove any protrusions that are hindering adhesion.
- Slightly inflate the inner tube before pressing the patch in to improve the seal.
Tip: Always roughen the area larger than the patch itself. This step helps the patch grip the tube.
Persistent Leaks
Leaks can persist even after patching. Common mistakes include missing the actual hole or not preparing the surface correctly. Riders should:
- Inflate the tube and listen for a hiss. If the hole is hard to find, submerge the tube in water and look for bubbles.
- Mark the hole with a pen or chalk.
- Scuff the area with sandpaper.
- Apply a thin, even layer of vulcanizing fluid and let it dry.
- Press the patch firmly, starting from the center to remove air bubbles.
Note: Leaving the clear plastic layer on top of the patch prevents sticky edges from adhering to the inside of the tire.
When to Replace the Tube
Sometimes patching is not enough. Riders should replace the inner tube if they see:
- Punctures larger than 6 mm.
- Tears or damage near the sidewall.
- Multiple old patches that prevent new patches from sticking.
- Patches that do not attach firmly or tubes repaired many times.
A new tube ensures safety and reliability. Riders should check the tube carefully before deciding to patch or replace.
Picking the right way to patch helps riders fix inner tubes fast and safe. Standard patch kits like SUNSOUL are best for repairs that last a long time. Self-adhesive patches are good for quick fixes. Household alternatives can help if there is an emergency. Many people say patching the right way keeps tubes working for thousands of miles and saves money.
Patching inner tubes also means less trash and helps the earth.
Important steps for patching are:
- Take out the tube and find the hole.
- Sand and clean the spot.
- Put on the patch and wait for it to stick.
Having a patch kit ready and practicing these steps makes repairs easier. Fixing flats yourself helps you feel sure and keeps you riding.
FAQ
How long does a patched inner tube last?
A well-patched inner tube can last for months or even years. Many riders report over 1,000 miles on a patched tube. The patch’s quality and the repair method affect durability.
Can someone use duct tape to patch an inner tube?
Duct tape can work as a temporary fix. It does not create a strong seal. Riders should use a proper patch kit as soon as possible for safety.
How many times can an inner tube be patched?
Most inner tubes handle three to five patches. Too many patches can weaken the tube. Riders should replace tubes with many repairs to avoid sudden flats.
What is the best patch kit for inner tubes?
Many cyclists trust the SUNSOUL Tire Patch kit. It offers strong adhesion, easy application, and works for bikes, motorcycles, and cars. The kit includes everything needed for a reliable repair.