Inner tube patches repair tire punctures, ensuring riding safety. These patches seal holes that cause leaks. Riders and drivers rely on them for quick repairs. Proper repair methods ensure a strong bond. The type of patch and the extent of the damage affect the repair’s success.
Key Takeaways
- Choose the appropriate patch type based on your needs. Use glue-free patches for quick repairs and vulcanized patches for long-lasting repairs.
- Follow the correct repair steps to ensure a strong bond. Clean the damaged area, properly apply the patch, and allow it to cure for best results.
- Repairing inner tubes is both economical and waste-saving. A good tire patch can last for thousands of miles, making it an affordable and environmentally friendly option.
How Inner Tube Patches Work
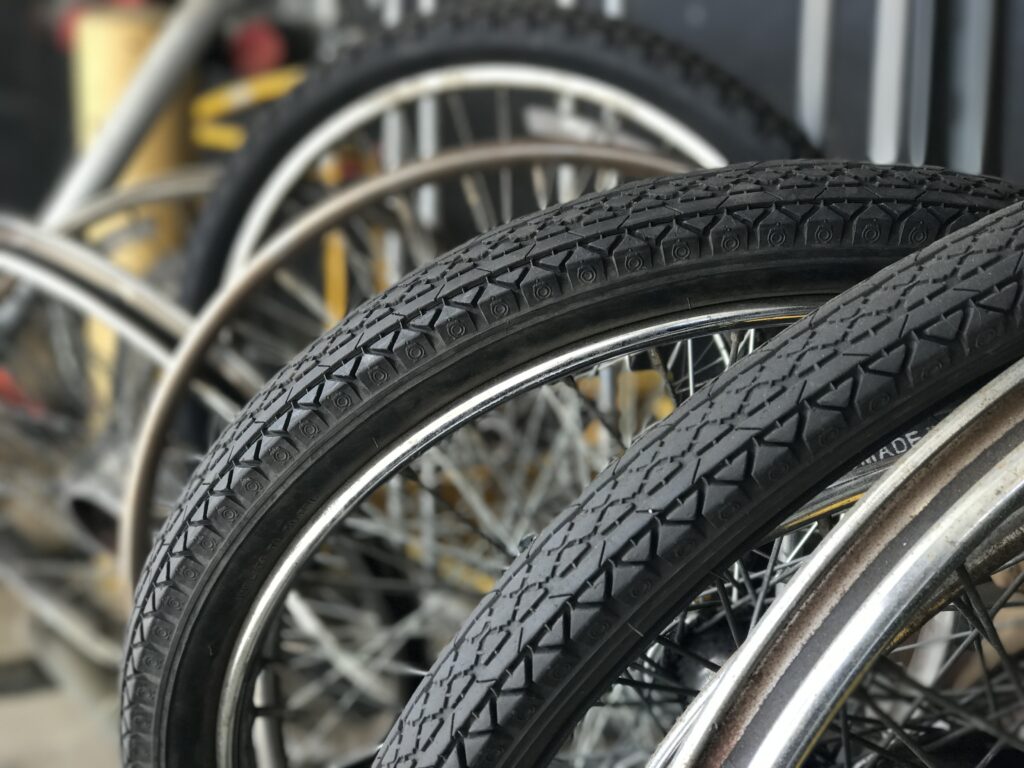
Types of Inner Tube Patches
There are several types of inner tube patches, each designed for a specific situation. Riders typically choose between vulcanized patches, glue-free patches, and mushroom-shaped patches. Vulcanized patches use a chemical reaction of rubber adhesive to form a permanent seal. Glueless patches (also known as pre-attached patches) allow for quick repairs without glue. Mushroom-shaped patches are best suited for repairing larger punctures and are commonly used in motorcycle and car repairs.
The table below compares glueless patches and traditional adhesive patches:
| Aspect | Glueless Patches (Pre-glued patch) | Traditional Glued Patches (Vulcanizing) |
|---|---|---|
| Convenience | Fast, no glue needed | Needs glue and drying time |
| Reliability | Good for small holes | Best for big holes |
| Durability | May not last as long | Lasts longer |
Riders often use pre-attached patches for minor roadside repairs. Pre-attached patches are suitable for minor punctures, saving time. For larger punctures or situations requiring long-term repairs, vulcanized patches provide a stronger bond. While mushroom-shaped patches are less common on bicycles, they can be used to repair larger punctures on motorcycle and car inner tubes.
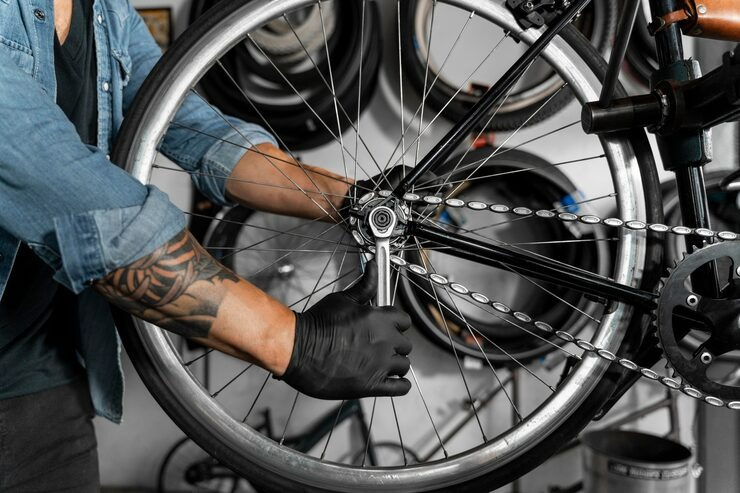
How to Patch a Bike Tube
To repair a bicycle inner tube, a rider will need a tire repair kit. A tool kit typically includes tire pry bars, sandpaper or a metal scraper, glue, and several tire patch pieces. Many kits also include a pre-applied patch for emergencies.
Here are the basic steps for repairing a bicycle inner tube:
- Remove the wheel from the bicycle.
- Use tire pry bars to remove the tire from the rim.
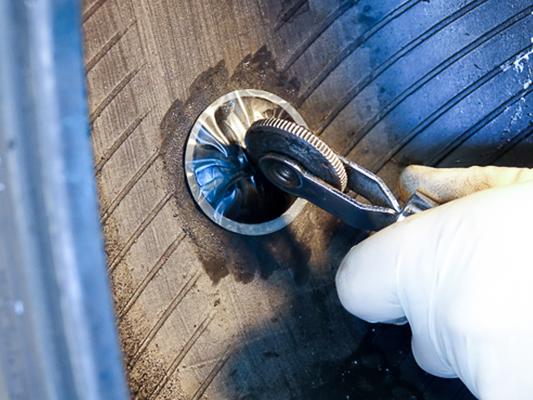
- Remove the inner tube and locate the puncture by inflating it and listening for leaks or by feeling for leaks with your hand.
- Mark the location of the puncture with chalk or a marker.
- Roughen the area around the puncture with sandpaper or a metal scraper.
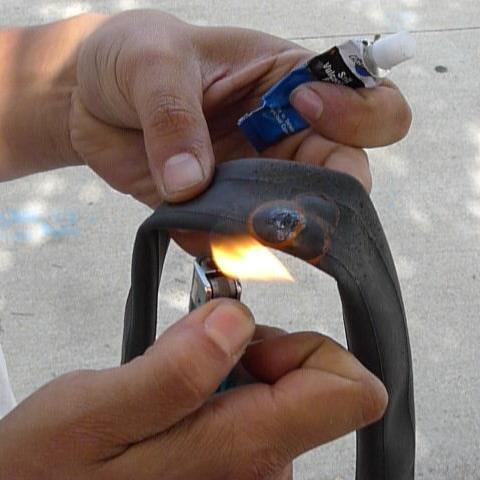
- If using a pre-applied patch, peel off the backing and press the patch firmly into the puncture. If using a vulcanized patch, apply glue, wait for it to thicken, and then press the patch onto the inner tube.
- Press the patch for one minute to ensure a good seal.
- Reinstall the tube and tire, then inflate to the recommended pressure.
Tip: Always clean the area around the puncture before applying a patch. Dirt or moisture can prevent the patch from sticking.
A patch kit with a pre-glued patch makes roadside repairs fast and easy. Riders can fix a flat in minutes and continue their journey. When they follow the correct steps, inner tube patches can restore a tube to near-new condition.
- A proper patch kit can repair a punctured tube as effectively as a new one when applied correctly.
- High-quality vulcanizing glue and pre-cut patches ensure a strong bond.
- Cleaning the puncture area and applying glue properly leads to repairs that withstand high pressure.
- Many riders report that a patched tube holds air for hundreds of miles, showing the effectiveness of the method.
Inner tube patches, especially when used with a pre-glued patch or a vulcanizing patch, give riders confidence on the road. With the right patch kit and careful application, anyone can patch a bike tube and keep riding safely.
Inner Tube Patch Success Factors
Patch Quality and Application
The quality of the tire patch and the application method are crucial. High-quality patches, such as vulcanized patches, can restore the strength of the inner tube. If the right patch is used and the steps are followed correctly, the patch and inner tube will work perfectly together. Many riders have ridden long distances with patched inner tubes without encountering any problems.
- A properly applied vulcanized patch can last as long as the inner tube itself.
- If applied correctly, a traditional vulcanized patch is virtually indestructible.
- After pressing the patch down and allowing it to cure, it will be firmly attached to the inner tube.
Glueless patches are fast for fixing flats, but they work best for small holes and short rides. These patches might start to leak after a few months, mostly on road bikes with high pressure. Riders say glueless patches last longer on mountain bikes, which use less air pressure. For repairs that last, vulcanizing patches are still the best.
Puncture Size and Location
The size and location of the puncture are crucial. Small holes in the center of the inner tube are the easiest to repair. Holes smaller than 6 mm in diameter can be safely repaired. Small holes or single, clean holes caused by nails or thorns, if leaking slowly, are ideal for repair kits.
- Small holes on the tire tread are best for repair.
- Hole diameters of 6 mm or less can be repaired.
- Slow leaks and single, clean holes respond well to repairs.
Some holes are more difficult to repair. Larger holes, rib-like punctures, or damage near the edges may not hold the patch securely. If the inner tube has many holes or old patch pieces are densely packed, it’s best to replace it with a new inner tube.
Pinch flats happen from low tire pressure or heavy loads. These are called snake bites. They usually make two holes near the rim, where the tube folds. This spot can split, so patches do not stick well.
Tube Material and Age
What the tube is made of and how old it is also matter. Old tubes can wear out and leak again after patching. Some tubes, like butyl rubber, need to be cleaned well before patching. Mold release agents on the tube can stop the patch from sticking. Riders should always roughen and clean the spot before putting on a patch.
Old tubes can wear out and get more leaks, so they are not as good for patching. The tube’s material matters too. For example, butyl tubes need to be cleaned well because of mold release agents. Cleaning the surface is very important. If you do not clean it, the patch can leak.
Cost-Effectiveness and Environmental Impact
Patching inner tubes saves money and helps the planet. It costs less to patch than to buy a new tube or use sealants. Over time, you can fix many flats with one kit.
| Method | Cost Range |
|---|---|
| Patching | $15 – $45 |
| Replacing Tube | N/A |
| Using Sealants | N/A |
Patching also means less trash. Fewer tubes go to landfills, and some, like TPU, can be recycled. By fixing flats instead of throwing tubes away, riders help the earth.
- Patching inner tubes uses less material and makes less plastic waste.
- Recyclable tubes help keep materials in use.
- Patched tubes last longer, so you do not need as many new ones.
If you use them right, inner tube patches are a good, cheap, and green way to fix flats and keep riding.
Patch a Tire or Replace?
When to Patch a Tire
Many cyclists choose tire patching when they experience a flat tire, as it’s a quick and reliable repair method. A properly used patch can seal the puncture and restore the inner tube’s strength. Experts say that a high-quality patch can last for years and prevent leaks, especially with small punctures. Some cyclists consider tire patching only a temporary solution, while others find that a patched inner tube works just as well as a new one. Tire patching is also an affordable repair method, helping to reduce waste.
Tire patches work effectively in a variety of weather conditions. Vulcanized patches remain strong in rain, high temperatures, or extreme cold. They can withstand temperatures from -40°F to 250°F. This makes them ideal for cyclists who want to repair a flat tire and continue riding in any season.
When to Replace the Tube
Sometimes, replacing the inner tube is the safest option. If the puncture is larger than 6 mm, or if there is a tear or damage near the sidewall, the rider should replace the inner tube. If the inner tube has many old patches or the rubber is aged, new patches may not adhere properly. If the patches are not firmly attached, or if the inner tube has been repaired many times, it is best to replace it with a new inner tube.
Tip: Riders often find that replacing the tube is faster in bad weather or during a race.
The table below shows how patched tubes compare to new ones:
| Repair Type | Mileage Range (miles) | Notes |
|---|---|---|
| Patched Tube | 15,000 – 25,000 | Can last as long as before repair. |
| New Replacement | N/A | Offers full durability. |
Tips for Reliable Repairs
To ensure a secure tire repair, cyclists should follow these steps:
- Choose a patch that is at least 1/2 inch larger than the puncture site.
- Sand the inner tube surface so that it is slightly larger than the patch.
- Apply a thin layer of rubber adhesive and allow it to dry until it is no longer shiny.
- Press the patch firmly to expel any air.
- Check that the patch is secure before reinstalling the inner tube.
Wiping the tire and removing any sharp objects after riding can extend the life of the patch. Regularly rotating tires and replacing old inner tubes also helps extend the life of the patch. With these techniques, anyone can confidently repair tires and resolve punctures.
Inner tube patches are a good way to fix holes. Riders can make strong repairs if they pick the right patch and follow the right steps. Experts say you should always have a repair kit with you. The kit should have tire levers, scuffers, patches, and vulcanizing solution. Dual cure patches are stronger and set fast. Fixing small holes helps you save money and makes less trash.
| Tool | Function |
|---|---|
| Tire Levers | Take the tire off the rim |
| Scuffer | Make the tube rough for the patch |
| Patches | Cover up the holes |
| Vulcanizing Solution | Make the patch stick well |
| Chalk/Crayon | Show where the hole is |
Having a repair kit ready helps you ride safely and saves money.
FAQ
How long does a patched inner tube last?
A properly patched inner tube can last thousands of miles. Many riders report that patched tubes work as well as new ones for everyday cycling.
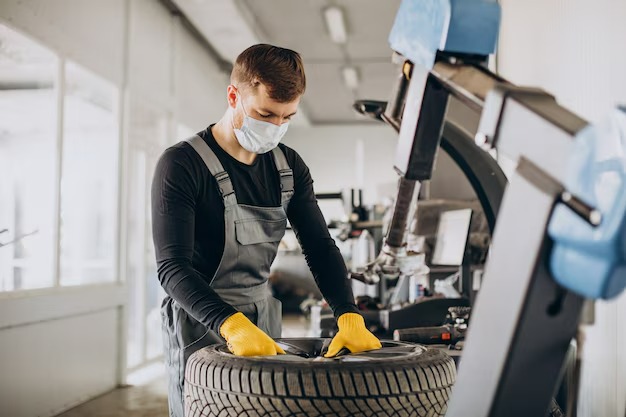
Can you use inner tube patches for car or motorcycle tubes?
Inner tube patches work for cars and motorcycles. Vulcanizing patches and mushroom plugs provide strong repairs for larger punctures and higher pressure.
What should you include in a bike tube repair kit?
A basic kit should have tire levers, sandpaper, vulcanizing patches, glue, and a marker. Riders can fix most punctures with these tools.