
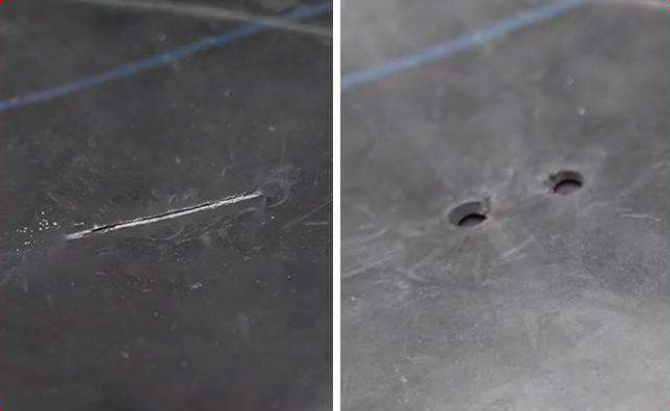
Step 1: Injury Inspection & Buttonholing
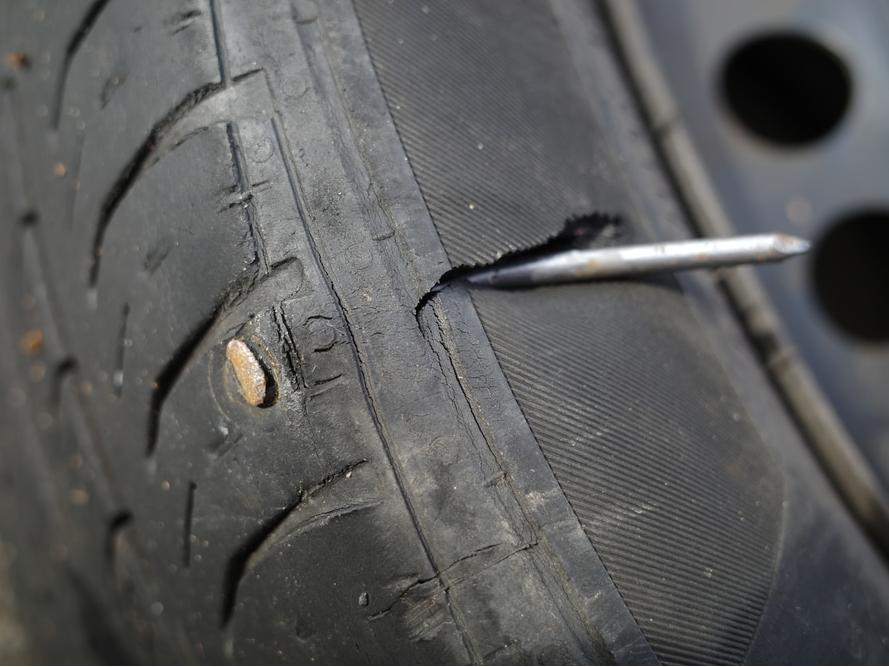
- Inspect the tube and locate the injury. If the injury is a cut or slit, the ends of the injury must be buttonholed (rounded) in order to prevent injury growth.
Step 2: Chemical Pre-Cleaning
- Pre-clean inner liner with Pre-Buff rubber cleaner. Use lint-free cloth to remove contaminants.
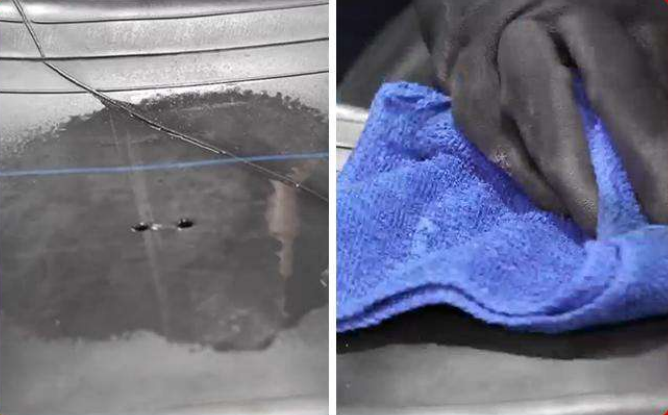
Step 3: Area Marking
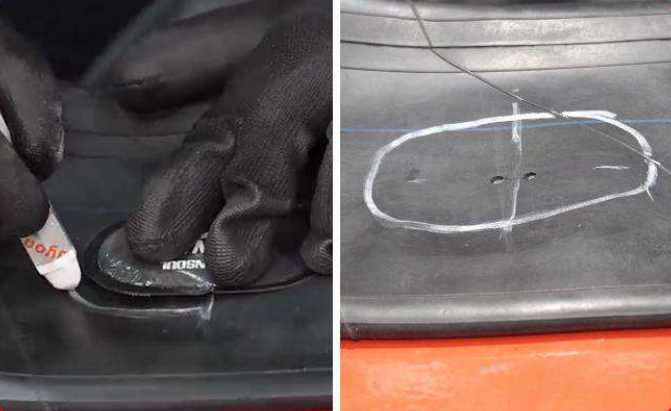
- Mark the area according to the size of the patch on the inside with Tire Crayon. The marked area should be larger than the patch.
Step 4: Mechanical Buffing & Debris Removal
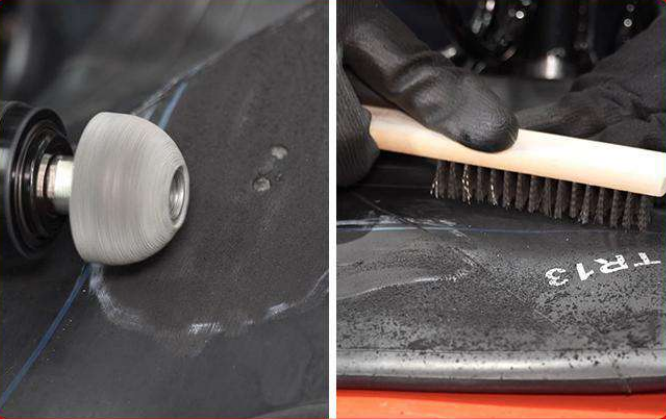
- Lightly buff the repair area using a low-speed buffer (max 2500 RPM) with a clean buffing rasp, 18 to 36 grit. Use a steel wire brush to remove buffing dust and debris from the buffed area.
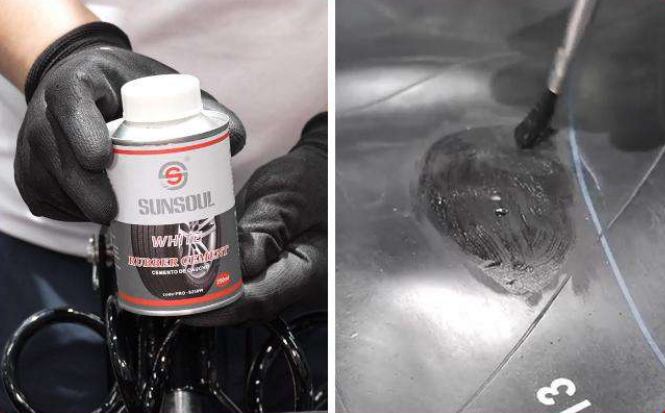
Step 5: Cement Application & Drying
- Apply Rubber Cement PRO- to the buffed surface. Allow to dry 3-5minutes. Allow additional drying time in cold or hurmid conditions.
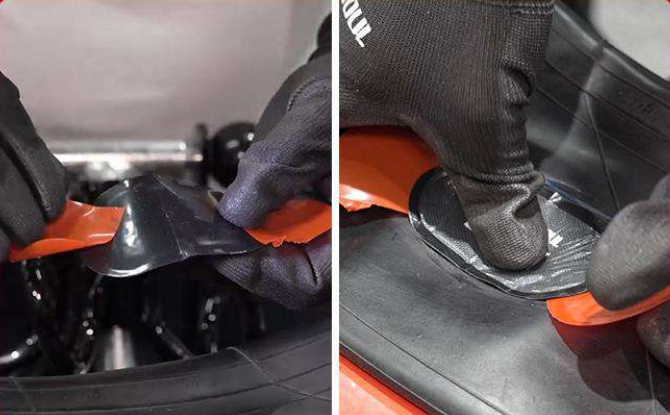
Step 6: Patch Centering & Initial Press
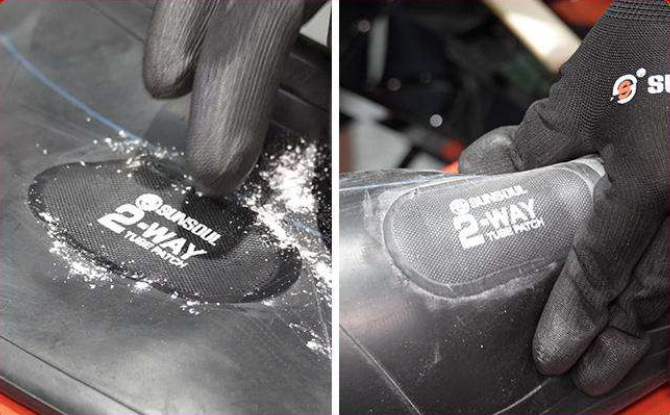
- Remove the protective red poly from the back of the repair, exposing only the middle portion of the repair Center the repair over the injury.Press down the center with your thumb.
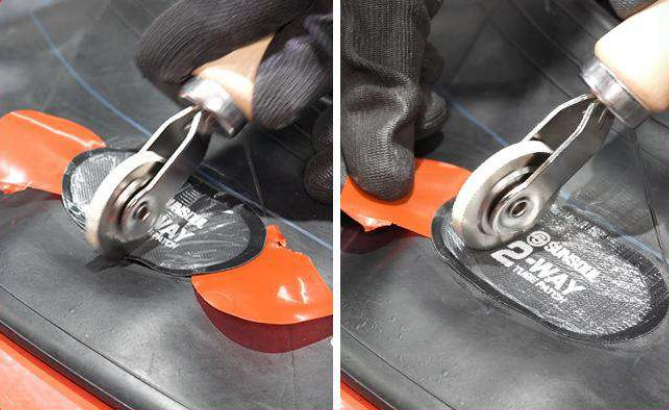
Step 7: Stitching & Under-Cap Removal
- Stitch repair unit down from the center out. Remove the poly film from the under cap.
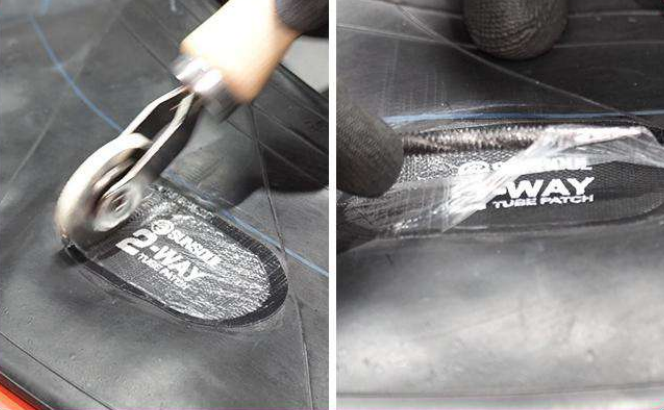
Step 8: Edge Stitching & Clear Film Removal
- Continue stitching toward the edges of the repair till press completely. Remove clear poly from the repair.
Step 9: Powder Application & Inflation Test
Apply white powder to the repair unit. Avoid adhesion between the tire tread and inner liner. Inflate the tube and to check initial adhesion