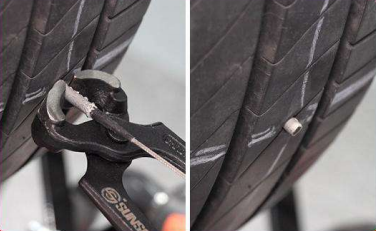

Step 1: Damage location & nail removal
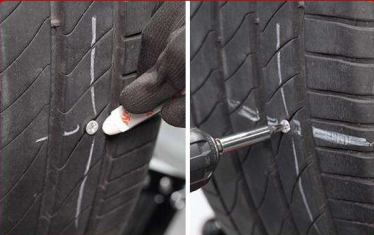
- Locate and use Crayon to mark all damage on the inside and outside of the tire. Pull out the nail with the Nail Removal Tool.
Step 2: Injury inspection & angle verification
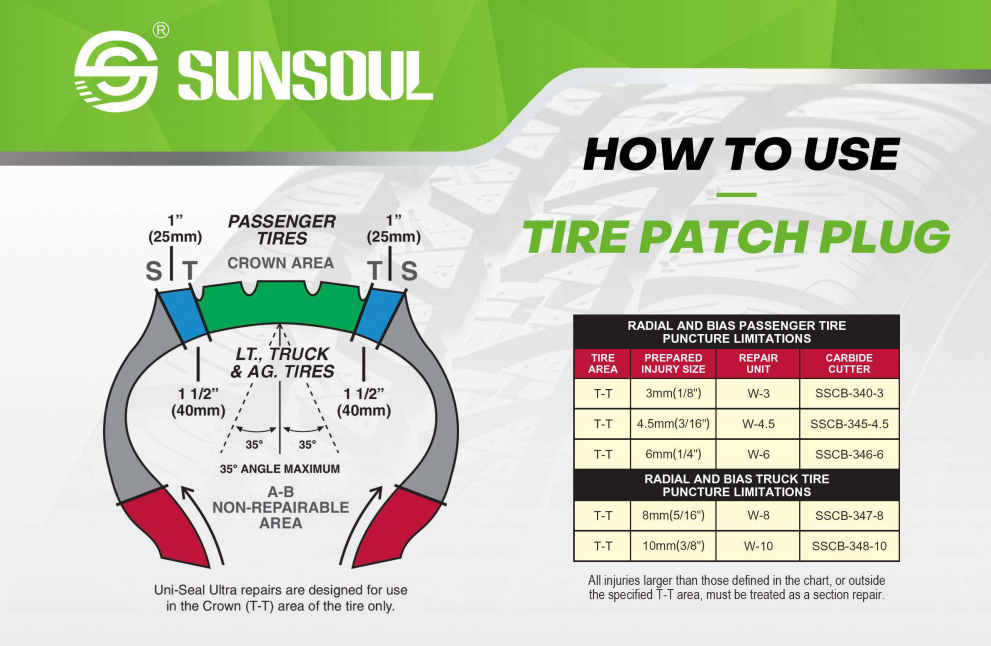
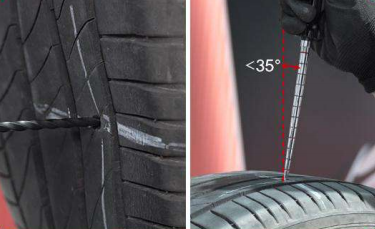
- Use the Knurled probe through the hole. Inspect the injury use Power-Awl tool If the angle of the injury channel is less than 35 degrees, A one-piece repair system can be used
Step 3: Channel drilling & patch area marking
- Drill the injury channel using a low speed buffer < 1800 rpm from the inside-out repeat 2-3 times. Mark the area according to the size of the patch on the inside. The marked area should be larger than the patch
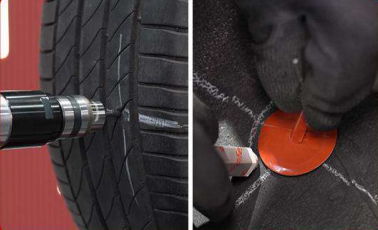
Step 4: Mechanical buffing & dust cleaning
- Lightly buff the repair area using a low-speed buffer (<5000 RPM) with a clean buffing rasp, 18 to 36 gnt. Use a low-speed cleaning buffer (<5000 RPM) Remove buffing dust and debris from the buffed area.
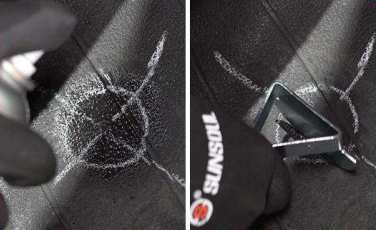
Step 5: Pre-buff cleaning & scraping
- Apply Pre-buff cleaner. Scrape away contaminants while the pre-Buff still wet. Repeat process 2-3 times
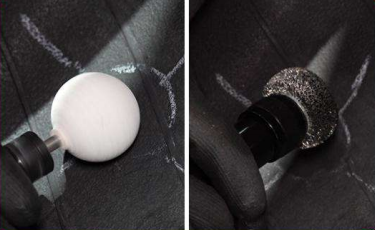
Step 6: Vacuuming & rubber cement application
- Use an air vacuum to thoroughly remove any scraps and residue Apply Rubber Cement PRO- to the buffed surface Allow to dry 3-5minutes Allow additional drying time in cold or humid conditions.
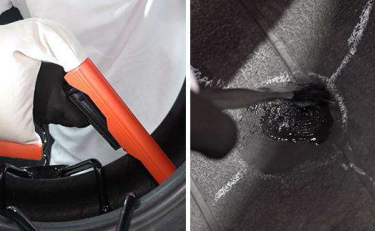
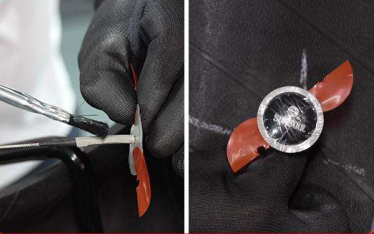
Step 7: Stem poly film removal & cement coating
- Remove the red poly film from the stem Apply Rubber Cement PRO- to the tapered portion of the stem. Insert the Tire Patch plug.
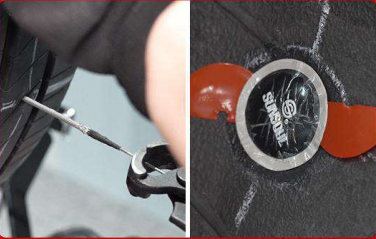
Step 8: Stem pulling & plug seating
- Grasp the wire with pliers on the outside of the tire and pull the stem plug through the tire until the cap formsa slight indentation.
Step 9: Center stitching
- Stitch repair unit down from the center out
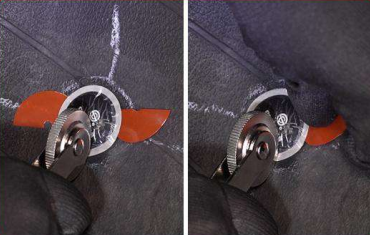
Step 10: Under-cap poly film removal & complete stitching
- Remove the poly film from the under cap Continue stitching toward the edges of the repair till press completely Remove clear poly from the repair.
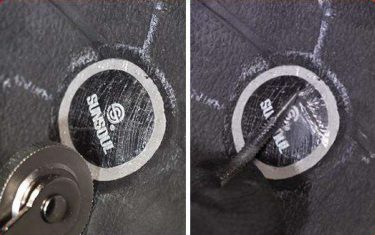
Step 11: Inner liner sealing
- Use Inner Liner Sealer to Seal the edges of the repair unit and the over buffed area.
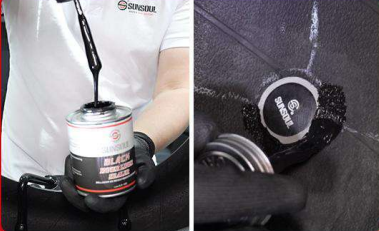
Step 12: Stem flush cutting & final service return
- With the stem relaxed, cut off the excess 1/8″ (3mm) above the tread surface The tire is ready to be returned to service