
Step 1: Mark the Damage
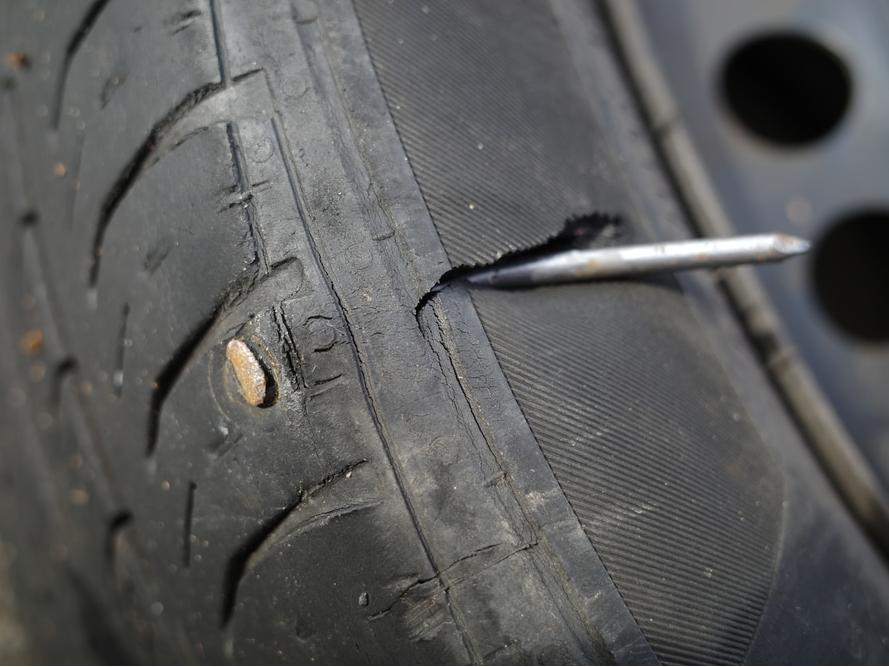
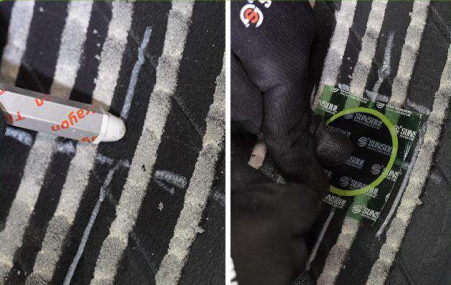
Locate and use Crayon to mark all damage on the inside and outside of the tire. Mark the area according to the size of the patch on the inside with Tire Crayon.
Step 2: Clean the Repair Area
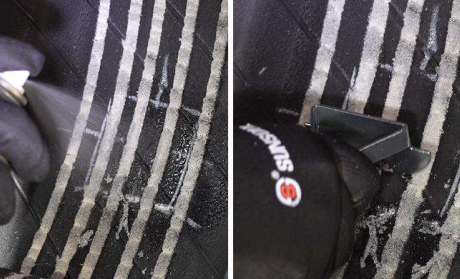
Apply Pre-buff cleaner. Scrape away contaminants while the Pre-Buff is still wet. Repeat process 2–3 times.
Step 3: Buff the Repair Area
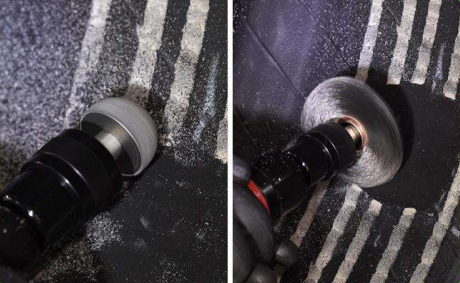
Lightly buff the repair area using a low-speed buffer (< 5000 RPM) with a clean buffing rasp, 18 to 36 grit. Use a low-speed wire brush buffer (< 5000 RPM). Remove buffing dust and debris from the buffed area.
Step 4: Apply Rubber Cement
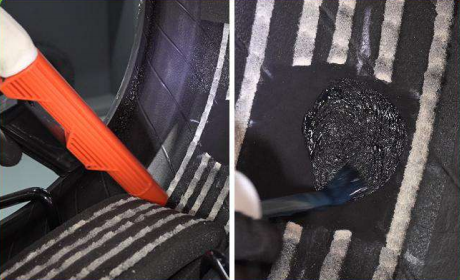
Use an air vacuum to thoroughly remove any scraps and residue. Apply Rubber Cement GRC to the buffed surface. Allow to dry for 3–5 minutes. Allow additional drying time in cold or humid conditions.
Step 5: Position the Patch
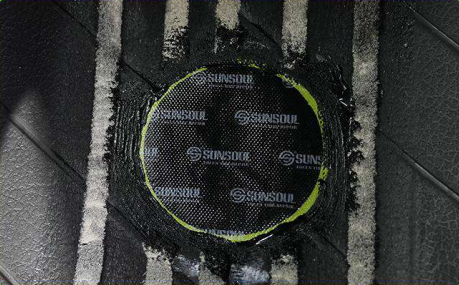
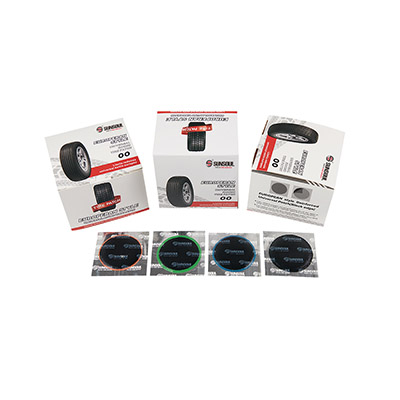
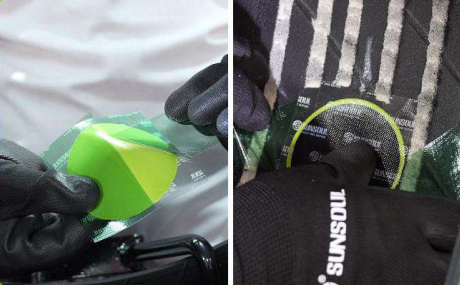
Remove the green poly from the back of the repair. Exposing only the middle portion of the repair. Center the repair over the injury. Press down the center with your thumb.
Step 6: Stitch the Repair Unit
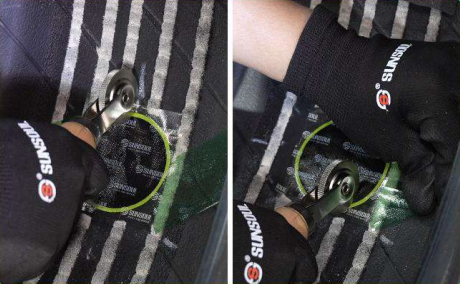
Stitch repair unit down from the center out. Remove the poly film from the under cap.
Step 7: Complete the Stitching
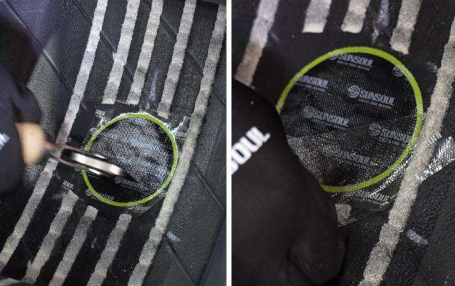
Continue stitching toward the edges of the repair till press completely. Remove clear poly from the repair.
Step 8: Seal the Repair
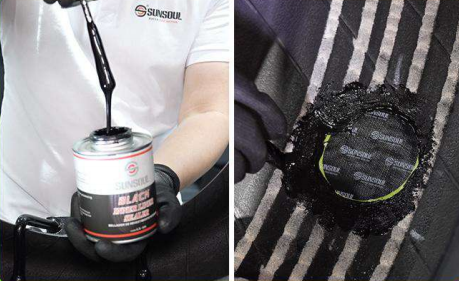
Use Inner Liner Sealer to seal the edges of the repair unit and the over buffed area.
Step 9: Final Inspection
The tire repair process is completed.