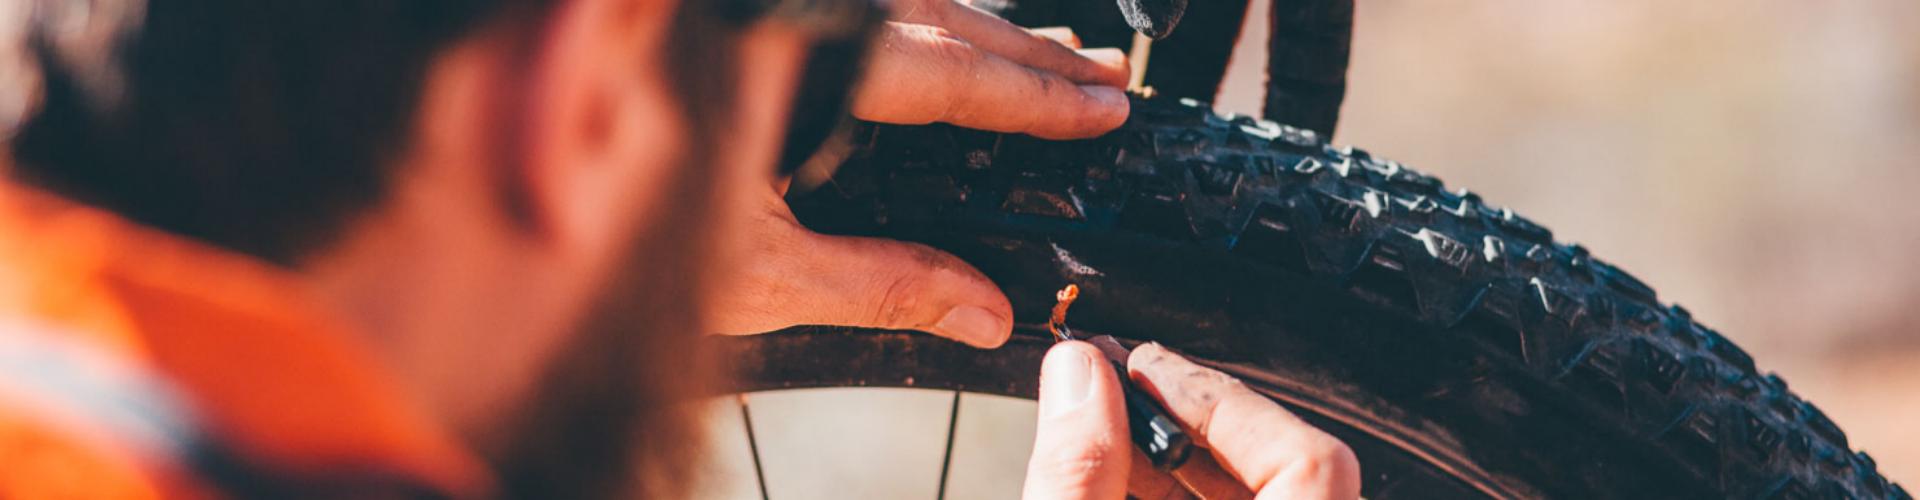


Riders can quickly repair ATV tire punctures using rubber repair strips. Results are particularly effective when combining a dedicated ATV repair tool with SUNSOUL’s high-quality rubber repair adhesive, enabling reliable emergency fixes while out on the trail. Off-road enthusiasts can repair flat tires without removing the wheel. Carrying a portable repair kit and spare repair supplies ensures peace of mind and safety, no matter how rugged the terrain.
Key Takeaways
- Pack a good ATV tire kit.
- Bring it on every ride.
- Fix flat tires very fast.
- You do not remove wheels.
- Smooth the hole with a reamer.
- Add rubber cement next.
- Insert the sticky plug now.
- This stops all the leaks.
- Use internal tire patches later.
- Put them on inside your garage.
- They make a permanent fix.
- Do this after trailside plugs.
Preparing to Plug an ATV Tire
Locating Punctures and Removing Debris
First, locate the damaged area of the tire. Carefully inspect the rubber tread for sharp thorns or nails. Spray soapy water on the tire and watch for small bubbles; bubbles indicate a hidden leak.
Next, remove the sharp object. Use a sturdy manual tool:
- Pliers
- Multi-tool (such as a Leatherman)
Removing the sharp object prevents further damage. At this point, clean away any dirt or debris.
Reaming the Hole for Proper Adhesion
The hole must be thoroughly cleaned to ensure a secure repair. Take the steel T-handle reamer and insert it into the hole.
Move the tool up and down, repeating the motion several times. This smooths out the rough rubber edges. A smooth surface helps the adhesive work effectively, ensuring a solid repair.
Choosing the Right ATV Tire Repair Kit
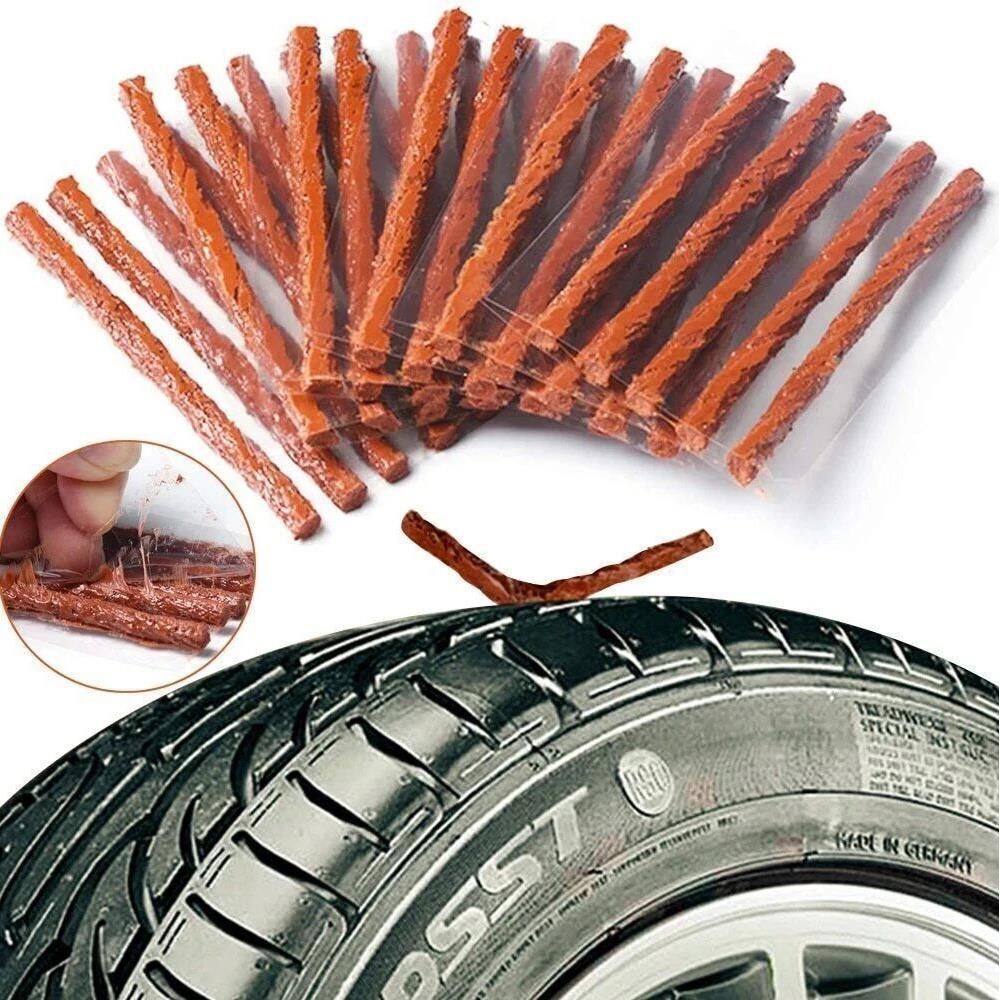
Every cyclist needs a tire repair kit. A high-quality kit features durable tools and includes adhesive rubber plugs and rubber cement, allowing for quick repairs without the need to remove the wheel.
Carrying a kit helps avoid lengthy delays during your ride and makes it easy to fix punctures in thick-tread tires. Keep it with you on every ride; using repair plugs ensures safety on the road. Storing the kit under the saddle is recommended—prepared cyclists can always handle unexpected tire issues with confidence.
Step-by-Step ATV Tire Repair Process
Coating and Inserting the Rubber Plug
Riders can easily fix a flat tire encountered while off-roading. Simply follow these steps. Be sure to carry an ATV tire repair kit containing the necessary tools.
- Locate and clean the puncture: Move the vehicle forward to find the leak. Check for any penetrating foreign objects and remove them.
- Prepare and insert the repair strip: Use the steel reamer tool to smooth the edges of the puncture. Load the rubber repair strip into the tool, apply adhesive, and push it into the hole, leaving about half an inch (approx. 1.3 cm) protruding.
- Re-inflate and check: Inflate the tire using a small manual pump. Inspect the repair site to ensure there are no further leaks.
- Add extra sealant (optional): Use a valve core tool to remove the valve core, inject liquid sealant, and reinstall the core. Inflate the tire and ride a short distance to distribute the liquid evenly inside.
Twisting, Trimming, and Re-Inflating
Using the correct technique ensures the tire plug is securely seated. Rotate the handle 90 degrees and quickly withdraw the tool, leaving the plug inside the tire. Use a sharp utility knife to trim away excess rubber, ensuring a smooth, even surface, and finally, re-inflate the tire.
Internal Patch Solutions for Permanent Fixes
Large punctures require permanent repair. Please remove the entire wheel and perform the repair in a garage using a heavy-duty tire patch. SUNSOUL manufactures high-quality tire repair supplies that are sold worldwide. SUNSOUL offers durable patches for tubeless tires, as well as premium patches for radial tires and vulcanizing patches. We recommend purchasing a rubber tire repair kit.
| Feature / Dimension | Internal Vulcanized Patch-Plug | External Tire Plug |
|---|---|---|
| Repair & Sealing Mechanism | Fills the open hole. Covers the inner lining. Fixes tires from inside. | Pushes in from outside. Uses glue and friction. Seals tight outer holes. |
| Leak Prevention | Seals the inner tire. Covers the whole hole. Stops air leaks well. | Might leak air later. Rough holes cause leaks. Bad glue hurts seals. |
| Long-Term Reliability & Durability | Blocks out all water. Protects inner steel belts. Stops rust and damage. | Heat wears it down. Tire flexing causes damage. Plugs fail over time. |
| Safety Inspection Required | Demands removing the tire. Checks inside rubber damage. Finds hidden structural issues. | Fixes tires from outside. Misses deep inner damage. Risks unsafe hidden breaks. |
Fix tire leaks very fast. Keep a kit packed. Stay safe on long rides. A kit saves your trip.
Riders fix a puncture. Locate the puncture, ream the hole, coat the plug in adhesive, insert, twist 90 degrees, trim, and inflate the tire. Test with soapy water. Riders plug atv tire leaks on an ATV using a repair kit. Carry a tire repair kit for a quick fix and SUNSOUL repair kit patches for ATV maintenance.
FAQ
How long does an emergency ATV tire plug last?
Sticky rubber strips seal leaks fast. Plugs offer a short fix. Fix tires inside later.
Can an ATV rider fix a puncture without removing the wheel?
Yes. Fix small leaks very fast. Use portable tire kits. Put rubber strips in. Leave wheels on now.
What tools belong inside a trail repair kit?
Kits need steel reamers. Add fork tools today. Pack sticky plugs next. Bring rubber cement too. These items add air. Ride safely outdoors now.